Creating a web form generates HTML code that allows you to embed the Submit Incident form into any website of your choosing.
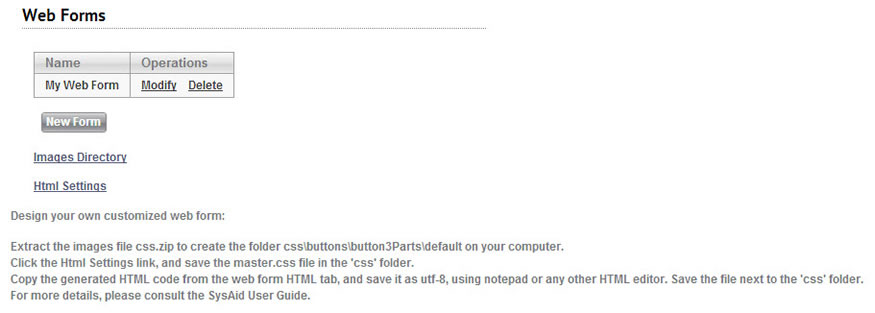
You can review saved web forms by clicking the Modify link. You can delete saved web forms by clicking the Delete link.

Creating a new web form
To create a new web form and embed the Submit SR from into the website of your choosing:
- Click on the Images Directory link and copy the css.zip file to the location where you store files for your website.
- Extract the css.zip file. This creates the css directory and several sub directories.
- Download the Master.css file by right clicking on the Html Settings link and then choosing to "Save file as...". Save this file in the css directory you created in step 2. Do not change the file name when you save it.
- Click the New Form button. This opens a new window where you can design your web form.
Designing a new web form
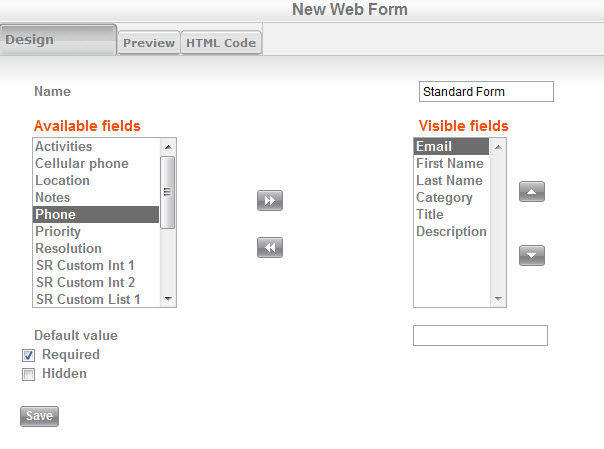
- Using the right and left arrows, choose which fields you would like to appear on your new Submit Incident form. You can make any field required, and you can also choose to mark a field as hidden. For more information about the Required, Hidden, and Default value fields, please go here.
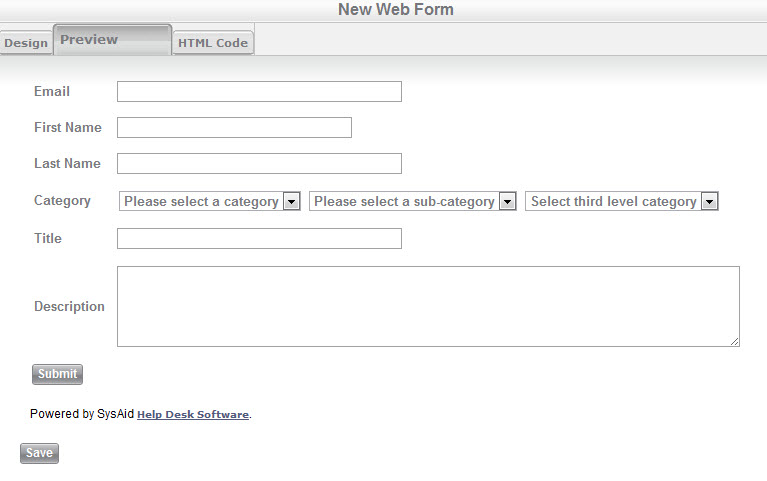
- Once you've added all necessary fields, you can preview your form from the Preview tab.
Previewing your new web form
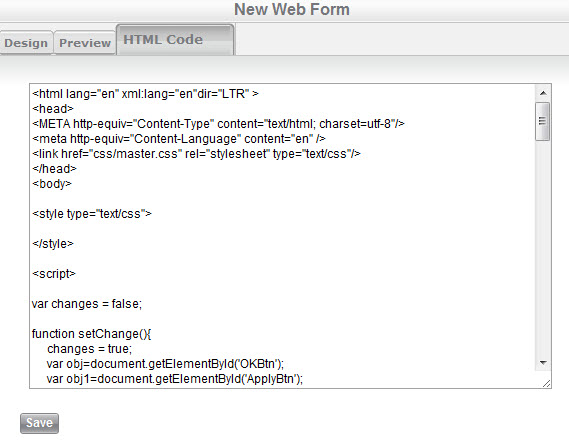
- Once you're satisfied with how your form looks, click on the HTML Code tab.
HTML code for your new web form
- Copy the HTML code into a new web page. (Click Save on the HTML Code tab after copying the code if you would like to reuse this web form at a later time.)
- Save the web page in the same directory that holds the css folder you created earlier (do not save it in the css folder).
- Make any desired changes to the HTML code of the new page you've created, including formatting it to fit the look and feel of your website.
- You can now link to the new HTML page from within your website. You can even embed the page as a frame, if you like.
Users can now use the new web page to submit a service record directly from your website, without needing to log into SysAid first.