The Change form has three primary purposes:
Edit and review the non-workflow tabs on a change, namely: Change Details, Close, and History.
Work on action items.
Update action items and dependencies for an existing change without changing the source template.
To view a complete example of the change process in action, please go here. For an explanation of workflow tabs and action items, please go here.
Editing non-workflow tabs on a change

There are three non-workflow tabs on the change form: Change Details, Close, and History. You must have permission to Create Changes/Problems in order to modify these tabs.
Note: To customize these tabs, you must customize the subtype on which the change is based.
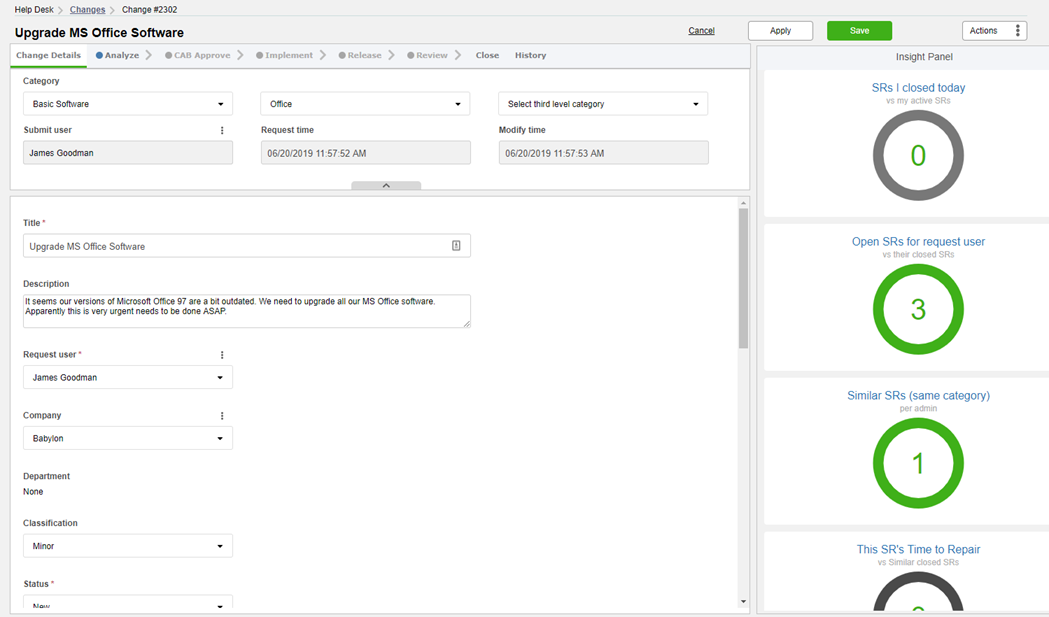
General Details tab
This tab most closely resembles the service record form. Select the Template, Category, Classification, Impact, Urgency, Priority, and Request User for the change, and fill in the title and description. If you have created a change from an incident, some of these fields will be copied directly from the incident; the incident will also be attached under linked items (after you save the change). Also, the status field will be updated automatically depending on the progress of the change.
For a full description of the fields available here, please consult the table found at the bottom of the SR form help page. Note that on the change form, the Assigned to field is renamed Process Manager, but otherwise has exactly the same function.
Close tab
The Close tab on the change form closely resembles the Close tab on the service record form. However, the statuses listed here are unique to changes. If a change is rejected, change the status from "In approval process" to "Change rejected." If a change is approved and then successfully implemented, change the status from "Waiting to be closed" to "Change completed." As mentioned above, only an administrator with permission to Create Changes/Problems can update the status of the change.
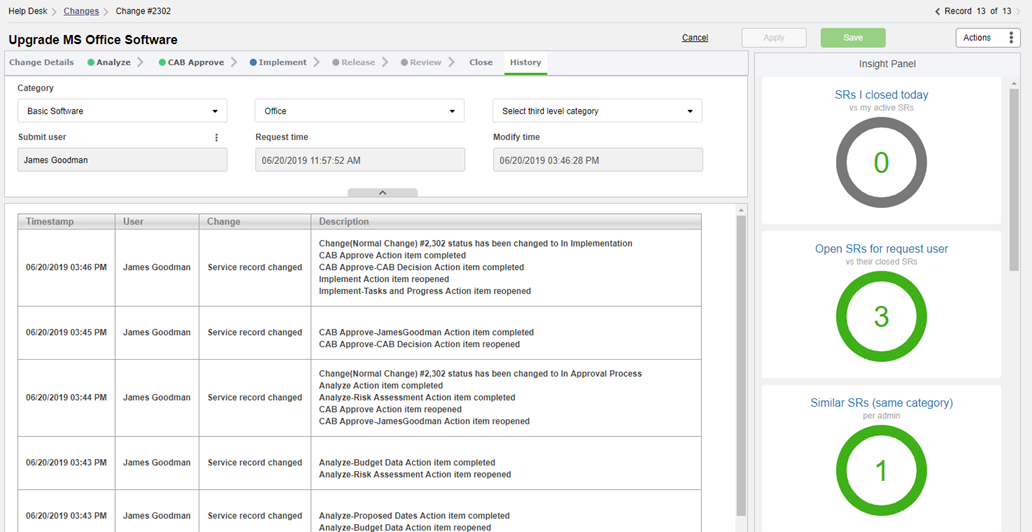
History tab
The History tab allows you to see all modifications made to the change since it was created. Click on a link in the Change column to view the change exactly as it existed after that modification.

Working on action items
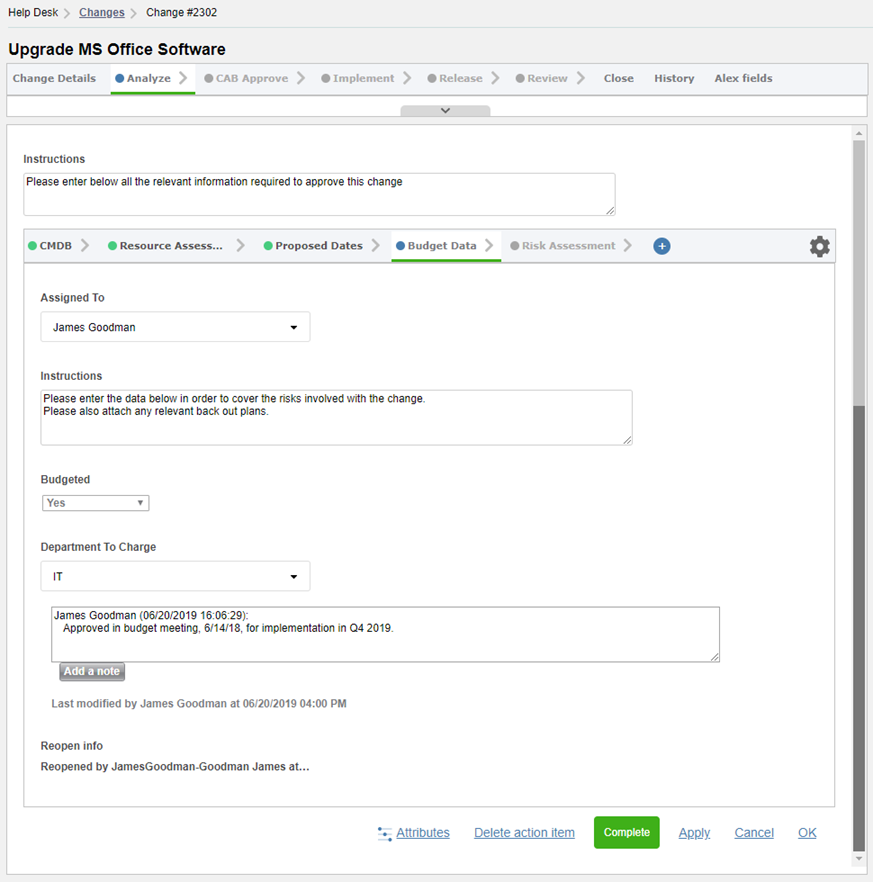
Action items are the main component of a change. They are where you record all work done for the change and where you record whether a change has been approved or rejected. Regular administrators can only view action items that are assigned to them, unless they have been granted permission to View other Admins' action items, and only Change Managers can edit action items that are not assigned to them.
In general, administrators will access an action item from Service Desk > Help Desk > Service Record Actions, where they can see a list of their (active) action items. Clicking on an action item from this list will open the change it belongs to with the specific action item tab open. In this way, the administrator can see what's expected of him/her and easily input any necessary details.
Working on an action item is very simple:
Open the action item in question, either from Service Desk >Help Desk >Service Record Actions or from Service Desk > Help Desk> Changes (if you open from here, you must then navigate to the correct action item).
Each action item is different. Your change manager can brief you on what's expected of you from a particular action item you are assigned to.
Perform any necessary actions to facilitate the change, and then fill out the necessary fields on the action item.
If you would like to save work on the action item before it's complete, click OK/Apply. If you finished all work on the action item and the change is ready to proceed to the next step, click Complete.
Once you've completed an action item, it will be grayed out, and you will not be able to work on it anymore. If you need to make changes at a later time, click the Reopen button.

Action item dependencies
Action items can be dependent upon the completion of other action items. If an item assigned to you is grayed out but you have not yet begun working on it, it means that there are other steps in the change process that must be completed before this one. When those steps are complete, your action item becomes active.
Please be aware that if you have completed an action item but must later reopen it, you will reopen all action items that come after it, and the owners of those action items will be notified that their action items have reopened. Similarly, if you receive a notification for an action item that you've already completed, it means that somebody with an action item before yours has reopened their action item, and changes might now be necessary to yours.
Modifying action items and dependencies on an individual change without altering the change template
While the main idea behind change management is that changes of any given type will all use the same template and therefore be standardized, there may be times when you need to modify the workflow, dependencies, or action items in an individual change.
The instructions for making these modifications are exactly the same as for modifying a change template, with one exception: instead of going to Settings > Service Desk Templates > Change Templates and opening the template you would like to modify, you instead go to Service Desk > Help Desk > Changes and open the individual change you would like to modify. Instructions for modifying a change template may be found here.
Note
Only Change Managers can perform the changes described in this section.