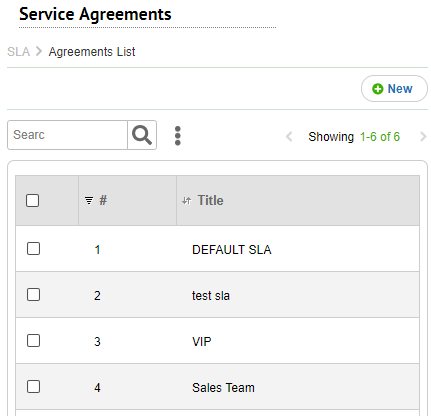
This page allows you to manage your different SLAs within SysAid.
If this is your first time using SysAid SLA/SLM, please read our introduction to the SLA/SLM module.

For general instructions for using list pages in SysAid, please go here.
Creating and modifying SLAs
Click  to create a new SLA. Click on the row of an existing SLA to edit it. For more information about creating and editing SLAs, please go here.
Once you've finished setting up your different SLAs, make sure to assign your users and companies to the appropriate SLAs. You may assign SLAs to users and companies under User Management.
Which SLA is applied to a service record?
- SysAid first looks to see if the request user of the service record has an agreement.
- If the request user has no attached agreement, SysAid will look to see if the request user's company has an attached agreement.
- If neither the request user nor the request user's company have an attached agreement, SysAid will use the default SLA for the service record.
The SLA of a service record is connected to the Request User for that service record. Therefore, if the Request User changes, so does the attached agreement.
List Actions
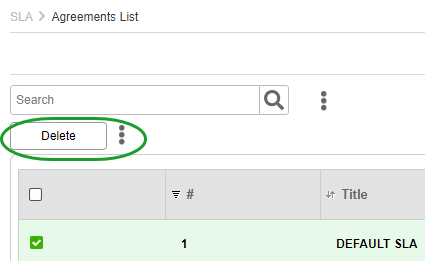
There are a number of actions you can perform on your list using the actions list. To open the actions list, select one or more list entries using the check boxes at the left end of each row. This opens the actions list:

Delete
Delete the selected agreements.
Export to Excel
Click  and click Export to Excel to export the list to a .csv file in Excel.
Print to PDF
Click  and click Export to PDF to export the list to a .pdf file.