Introduction
As a comprehensive IT Service Management (ITSM) solution, SysAid consists of two basic, tightly integrated components: Service Desk and Assets Management. Implementing IT Asset Management (ITAM) may be a challenge in a multi-site organization, especially when ITSM is implemented as a cloud service. Attempts to discover and monitor the network from outside the organization will encounter inevitable obstacles due to the local firewall and network utilization.
To resolve these issues, SysAid places a type of proxy, called the SysAid Remote Discovery Service (RDS), in the local network where assets are located. The RDS is the only node on the local network that communicates directly with the SysAid server or cloud. It performs all monitoring, inventory discovery, agent deployment, and LDAP integration processes locally at remote sites, and then communicates all the necessary data back to your SysAid server or cloud. Using RDS ensures that all the network traffic generated during network discovery and monitoring is local traffic. This results in reduced network latency and bandwidth usage, and increased reliability.
SysAid RDS does not require you to open ports on your local firewalls, and it transmits all data to the SysAid server or cloud through the internet.
SysAid cloud customers must install at least one SysAid RDS node on their local network to take full advantage of SysAid's Asset Management capabilities.
Please note:
An individual RDS node should be used for up to 2000 assets. For more information, see System Requirements.
If your RDS is using SysAid Patch Management, ensure port 1070 is opened for communication on the RDS for the target assets.
Install RDS
You can install RDS onto as many hosts as are necessary for network discovery and monitoring.
To install SysAid RDS:
Download the appropriate installer package from Settings > Network Discovery > Downloads > Download SysAid remote discovery service
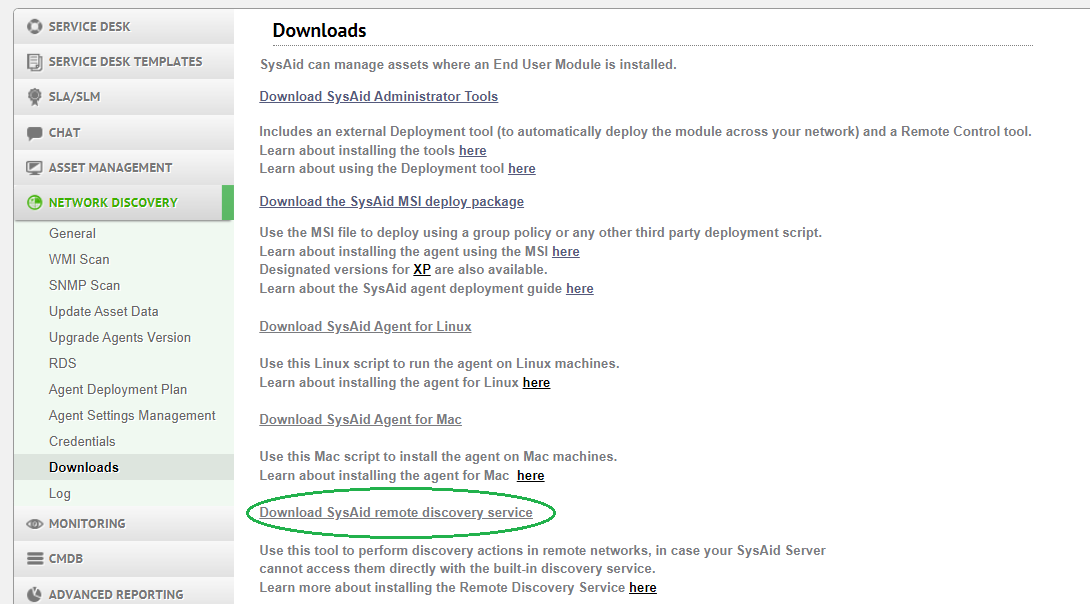
Save this file to the computer that will be hosting RDS.
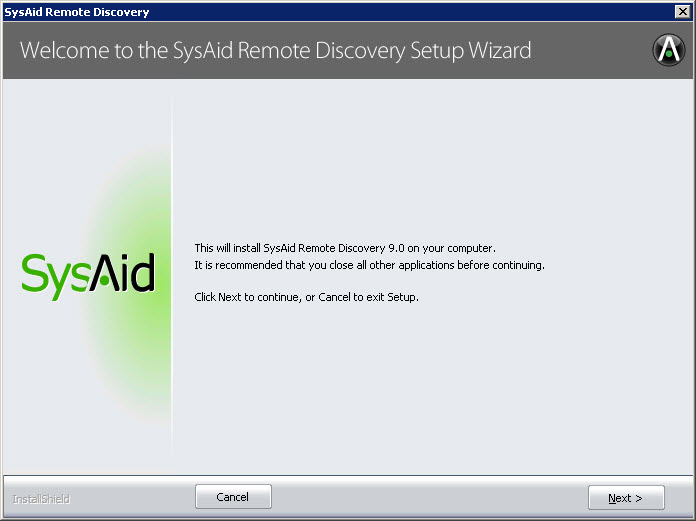
Run the installer package.
On the first page of the installer, click Next.
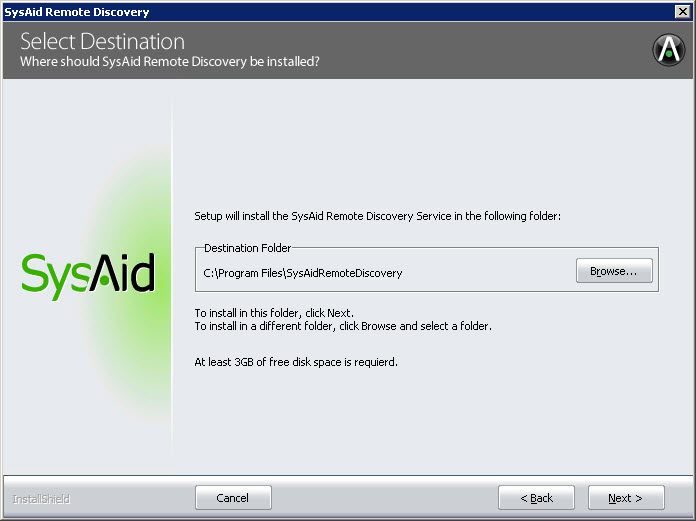
Choose the location for the RDS installation using the Browse button, then click Next. Typically, there is no need to change the default location.
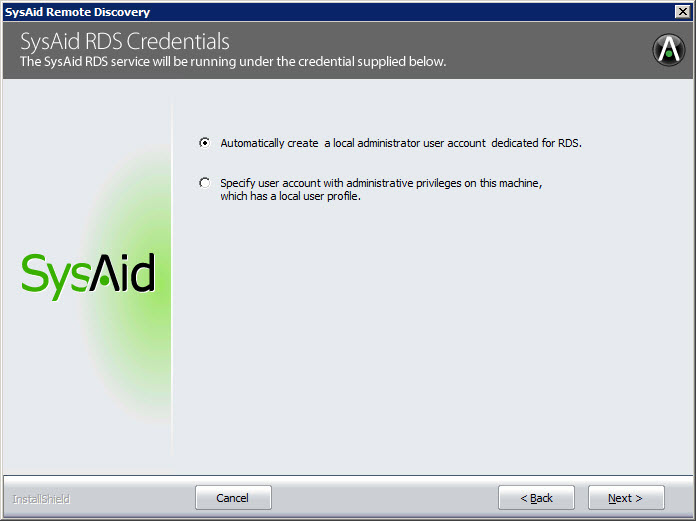
Choose whether you want the RDS Installer to automatically create a local administrator user account dedicated to RDS
--or--
Specify a user account that has administrative privileges on this machine, which has a local user profile. This means that the specific user account has previously logged into this machine at least once.
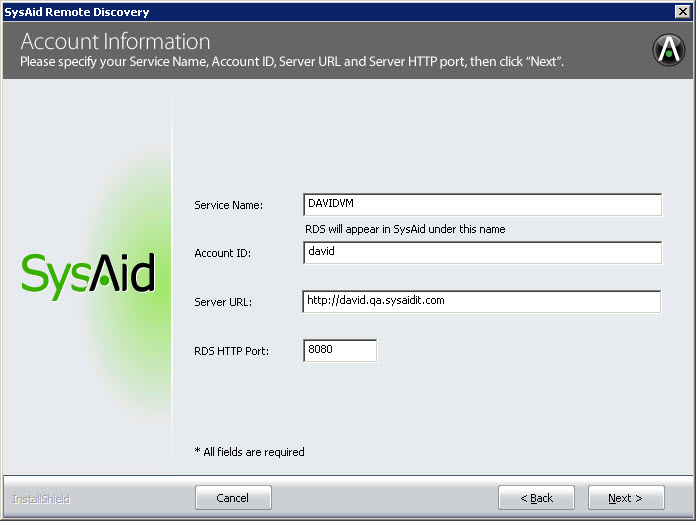
For Service Name, enter the name of the RDS node as you would like it to appear in SysAid on the list of available RDSes.
Enter your Account ID and Server URL as they appear in SysAid under Settings > Network Discovery > Downloads.
Enter the port that RDS will use for accepting incoming communications from Agents deployed on the local network. Then click Next.
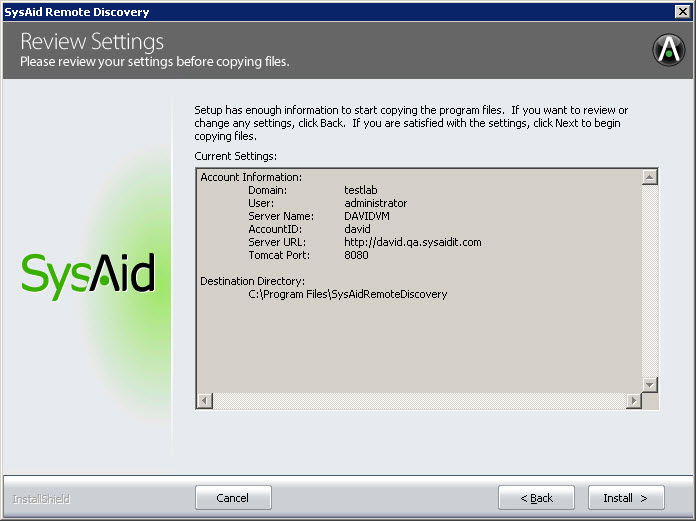
Review the configuration information you've entered. If all information is correct, click Install.
SysAid installs the RDS.
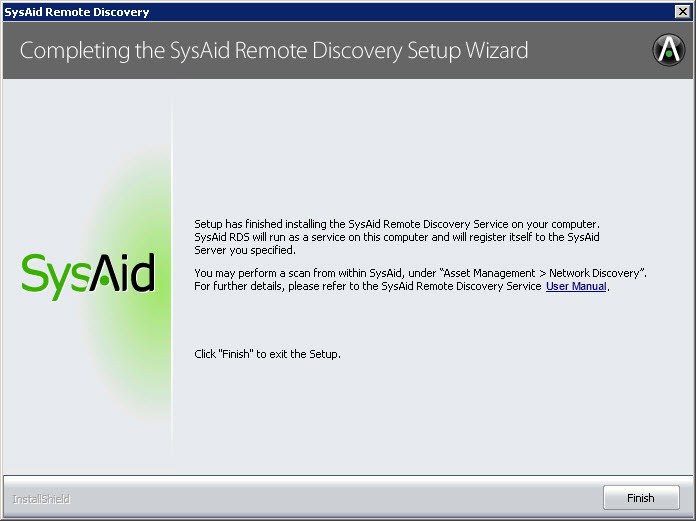
When the installation is completed, an installation complete screen opens. Click Finish to close the Setup Wizard.
The RDS you've just installed appears in SysAid under Settings > Network Discovery > RDS. More information about this page can be found here.
Network Discovery using RDS
After installing SysAid RDS, you can use it for all network discovery functions available from within SysAid.
To perform network discovery using SysAid RDS:
Go to Settings > Network Discovery.
Select the type of discovery you would like to perform.
In the Discovery Service Name column, select the RDS you just deployed. The name appears exactly as you entered it in Step 6 of Installing RDS, above.
You can now continue with network discovery using SysAid RDS as the discovery service. For further instructions for performing network discovery, please see the complete Network Discovery Guide.
LDAP using RDS
After installing the SysAid RDS, you can use it to bridge the communication between your LDAP server and the SysAid server, eliminating the need to open ports in the local firewall.
To configure LDAP integration using the SysAid RDS:
Go to Settings > Integration > LDAP.
Select the RDS name you would like to use for this LDAP Integration. The RDS must be able to communicate with the LDAP server you are integrating with. The RDS name appears exactly as you entered it in Step 6 of Installing RDS, above.
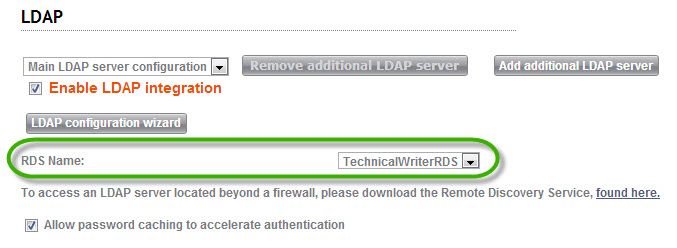
For complete instructions on configuring the LDAP Integration please go here.
How RDS works
RDS architecture
SysAid RDS was designed to solve three primary challenges:
Performing network discovery and monitoring functions in locations that the SysAid server couldn't otherwise access without opening ports in the local firewall. As such, at least one RDS deployment is recommended for all Cloud Edition customers.
Optimizing the flow of network traffic between computers in the local network and the SysAid server.
Bridging communication between your LDAP server and SysAid server in locations that the SysAid server would not have access to the LDAP server without opening ports in the local firewall. It is recommended that all cloud customers have RDS within their local network to allow this communication.
To resolve these challenges, SysAid RDS is deployed locally on a computer at each company location where it is:
Needed to enable connectivity to the SysAid server.
--and/or--Used to optimize network traffic.
The deployment includes a web server that is used to communicate with computers that have the SysAid agent installed. RDS can perform SNMP and WMI network scans, agent deployment, LDAP integration, as well as collect monitoring data from computers. Furthermore, RDS collects and distributes all messages from the SysAid server that are intended for local computers (such as remote control requests).
All SysAid agents send their inventory and monitoring data to their respective RDS. RDS optimizes the data for transmission and then sends it to the SysAid server in a manner that maximizes network efficiency. In the event that a particular RDS deployment is unavailable, all communications that would normally be handled by RDS go directly to the SysAid server instead.
SysAid RDS manages assets at each company location and communicates with the SysAid server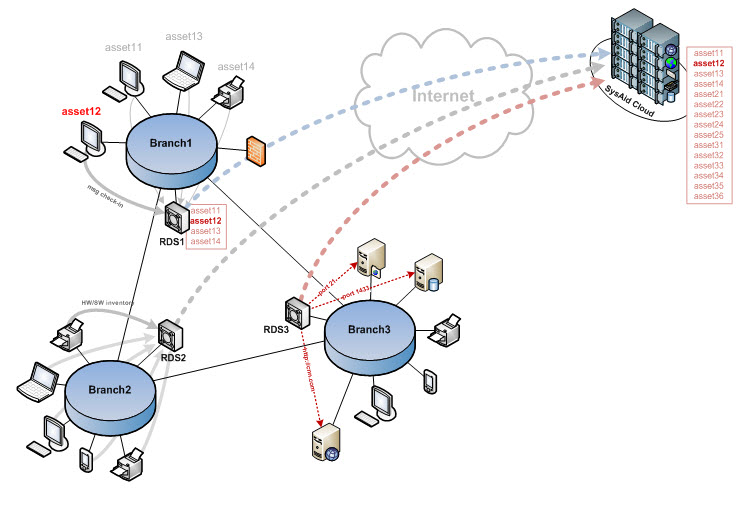
Network discovery
SysAid RDS handles all local network discovery functions. This includes WMI scanning, SNMP scanning, deploying the SysAid agent, and managing hardware inventories. All collected inventory data is sent by RDS to the SysAid server. If there is a lot of data to be sent at once, RDS optimizes the data transmission by fragmenting data and sending blocks.
RDS sends an inventory report to the SysAid server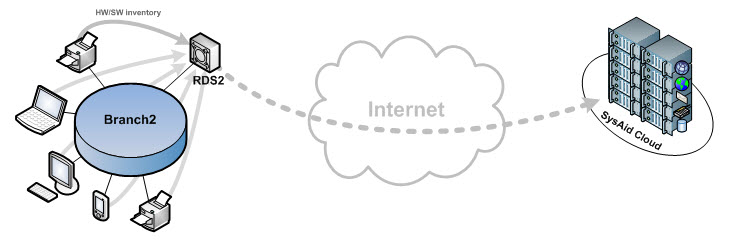
SysAid RDS can also upgrade the version of the SysAid Agent deployed to your computers when a new Agent version is released.
Monitoring
All local monitoring data is reported to RDS, and RDS then sends that data to the SysAid Server. For ping testing, RDS initiates the ping, and for port testing and URL testing, RDS tries to contact the port or URL.
By performing monitoring tests locally from RDS, the communication problems caused by firewalls are eliminated.
Monitoring tests performed by SysAid RDS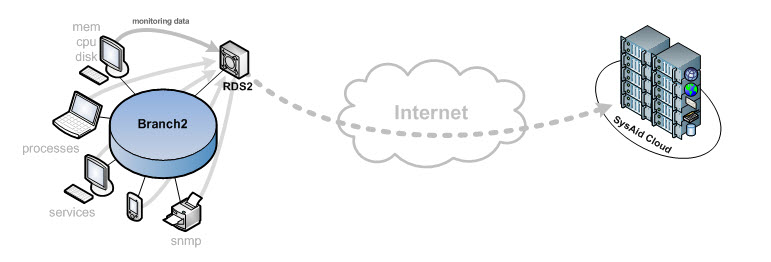
Ping testing, port testing, and URL testing performed by SysAid RDS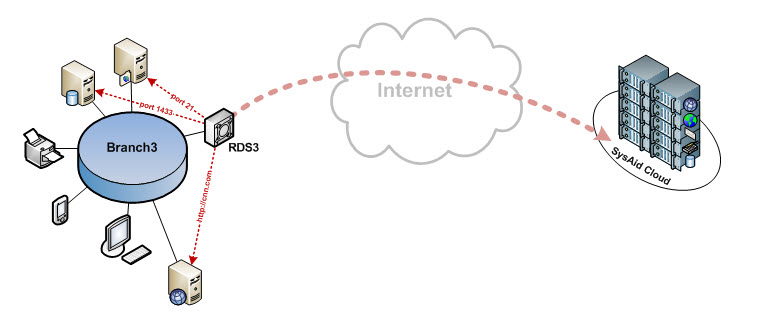
LDAP
SysAid RDS acts as a bridge for all LDAP processes, such as importing users, user authentication, and Password Services functions (reset LDAP passwords and unlock LDAP accounts). For example, when SysAid imports users from LDAP, the RDS fetches the needed data from LDAP and then transmits it to the SysAid Server, eliminating the need to open ports in the local firewall. All password related communication between the SysAid RDS and the SysAid server is encrypted. To secure all communication, ensure that the RDS communicates with the SysAid server using https in the server URL.
LDAP integration, performed by SysAid RDS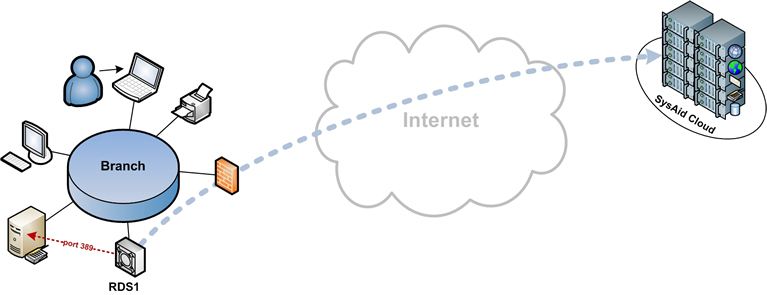
Designated RDS per asset
Each asset has its own designated RDS that it reports to. By default, the designated RDS is the RDS used to discover the asset.
If you need to change the designated RDS, you may do so from Assets > Asset Management >Asset list using list actions.
Set Proxy settings on the RDS
To configure the Proxy settings on your RDS
Open the RDS properties file by navigating to C:\Program Files\SysAidRemoteDiscovery\root\WEB-INF\conf\DiscoveryService.properties.
Add the following parameters and fill in their values:
proxy.host=
proxy.port=
proxy.user=
proxy.password=
When you finish, the file should look something like this example:
#Discovery Service Configuration
#Wed Apr 15 10:02:11 WGST 2015
mongo.port=28000
os.type=64
service.name=SERVICENAME
build.num=b25
account.id=ACCOUNTID
rds.version=14.4.33
clientVersion=14.4.33
rds.url=http\://RDSURL\:8080
server.url=http\://SERVERURL.sysaidit.com\:80
proxy.host= xxx
proxy.port=xxx
proxy.user=xxx
proxy.password=xxx