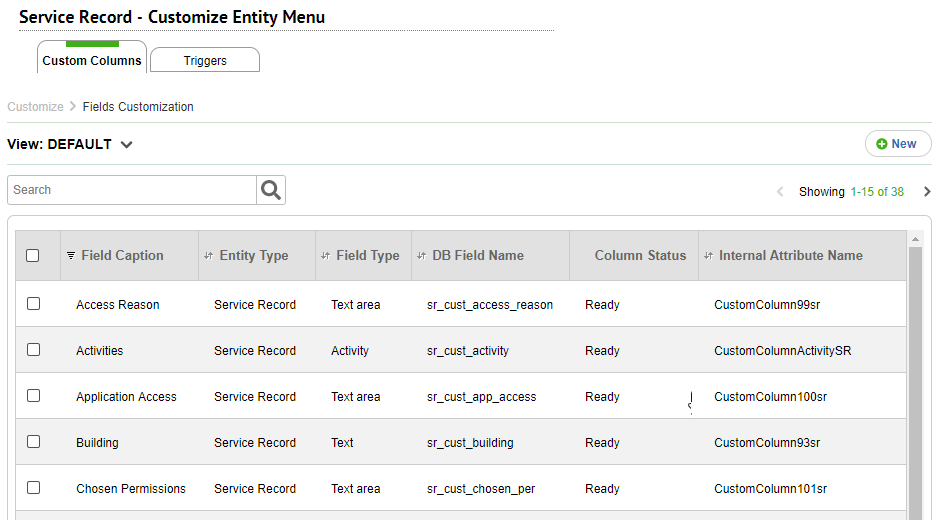
SysAid allows you to add custom fields to your forms and lists. This tab shows a list of all custom fields you've added to the currently selected entity and allows you to create new fields. Every addition or edit of a custom column is recorded in SysAid's Audit Log.

For general instructions for using list pages in SysAid, see Using SysAid Lists.
Create and Modify Custom Fields
Click  to create a new field for the selected entity. Click on the row of an existing field to edit it. For more information about creating and editing custom fields, see Create/Edit Custom Entity Column.
New custom fields become available once SysAid creates the custom columns. To check the status of the custom columns, see the Status column in the relevant Custom Columns list.
For cloud accounts, custom columns should be ready within an hour. On-Premise accounts check for new custom columns once a day at a specific time (defined in the account's default settings) unless the field is applied manually.
You can create up to 200 custom fields per entity.
Manually Apply a Custom Column (On-Premise Only)
When admins create custom columns the new field becomes available in the system based on a specific time defined in maintenanceHour parameter in the accountConf file (Cloud accounts apply the column within an hour). Admins can choose to manually apply the field immediately to avoid the wait.
Manually applying custom columns may affect SysAid's speed while the process is running.
To manually apply a new custom column
- Select the rows corresponding to the entities you want to manually apply.
- Click Apply Now.
- When prompted, click OK.
Delete an Entity
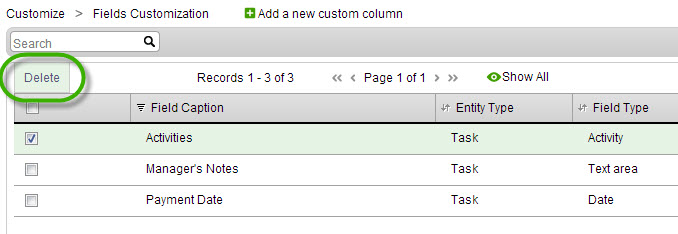
You can delete an entity or multiple entities simultaneously.
To delete an entity
- Select the rows corresponding to the entities you want to delete.
- Click Delete.
