SysAid's advanced SNMP configuration capabilities offer a robust framework for managing network devices efficiently. Leveraging these capabilities allows Admins to customize OID mappings, edit SNMP fields, and focus queries to retrieve specific data points, ensuring that their network management process is both comprehensive and streamlined.
Customization allows for tailored data collection and monitoring, which is crucial for optimizing network performance, reducing unnecessary data queries, and enhancing overall network management efficiency.
This article provides the steps required to configure OIDs in Asset Management’s SNMP Settings.
Configure OIDs
Step 1
Open SNMP OIDs Settings

To define custom OIDs, open SNMP OIDs Settings, by following these steps:
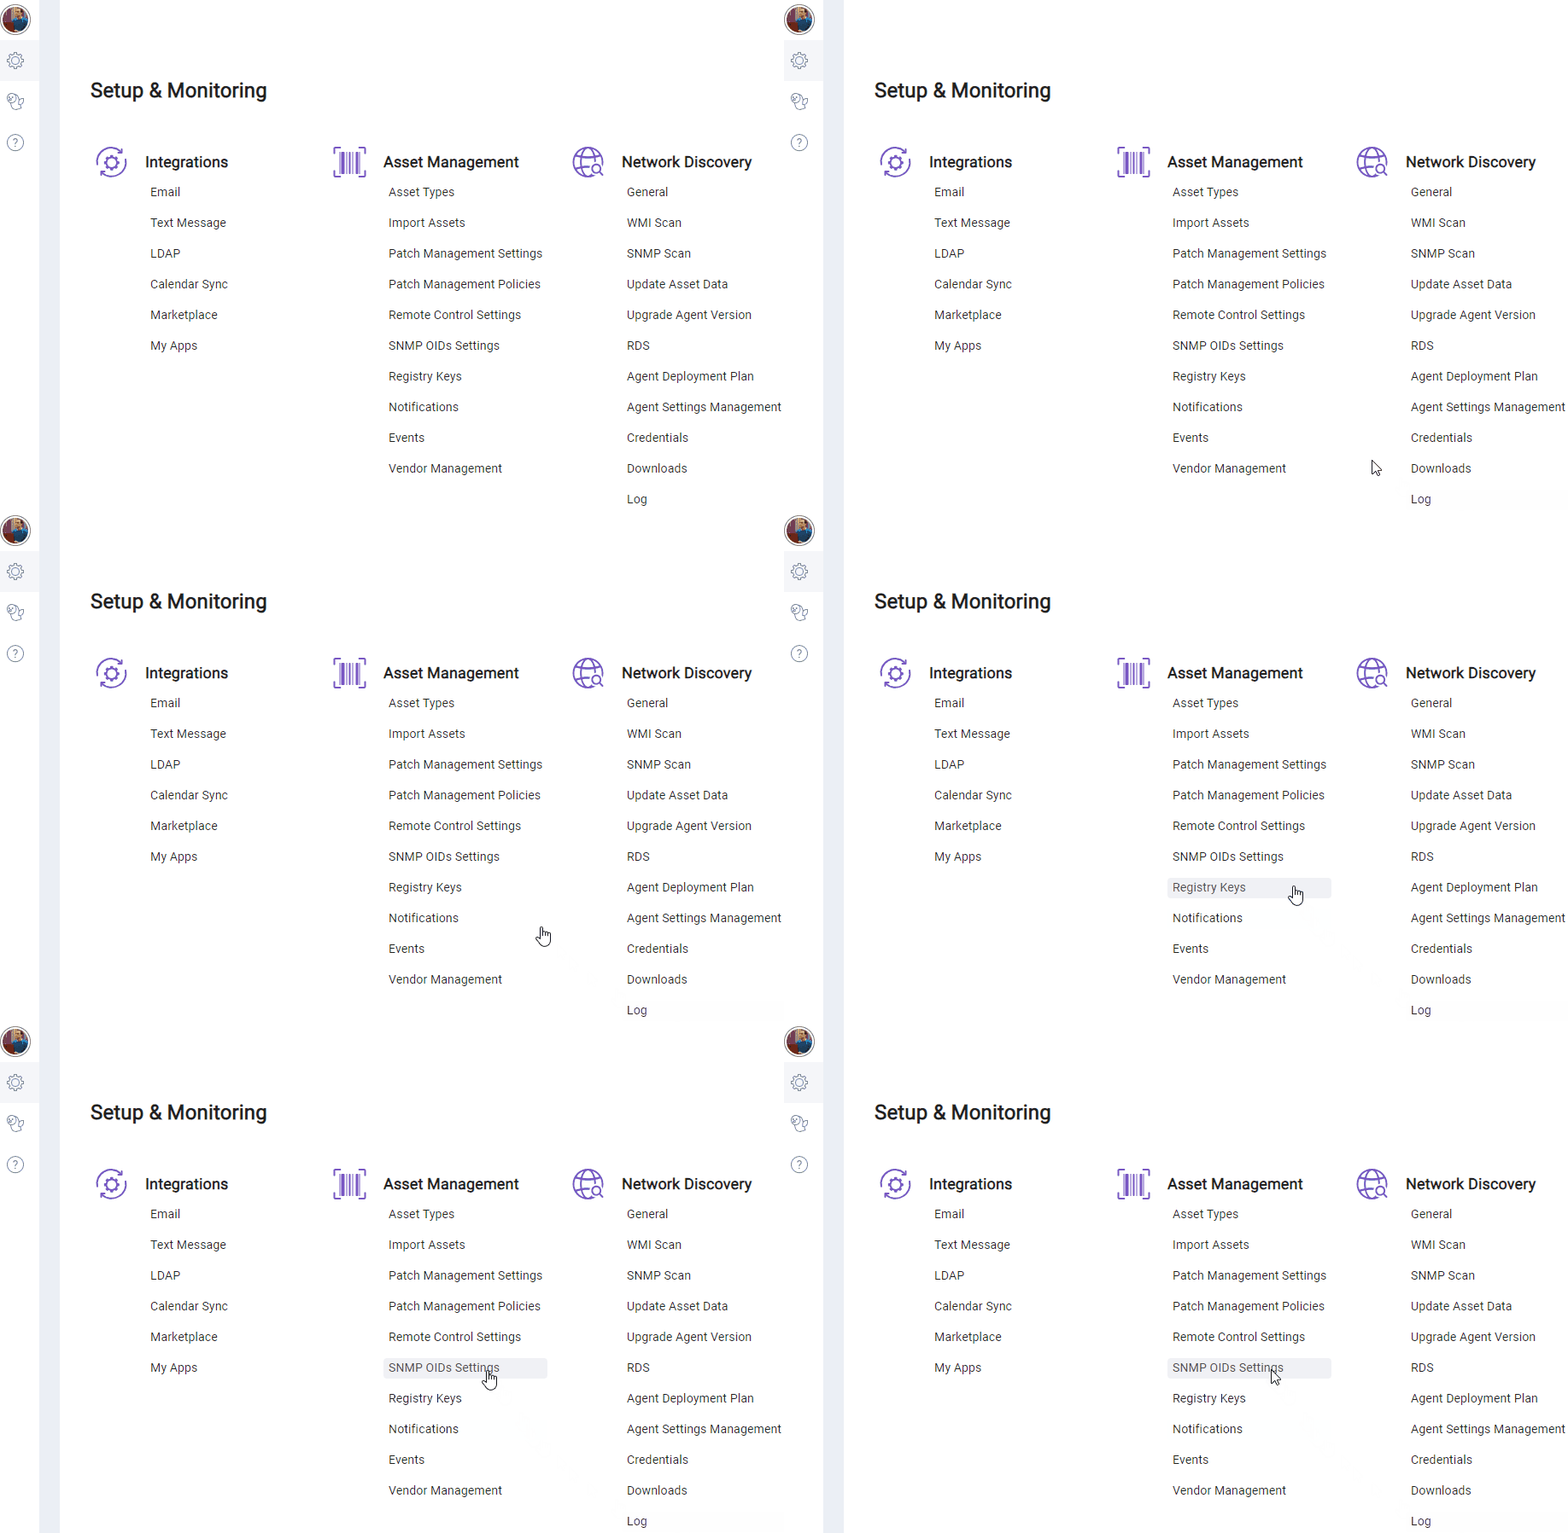
Go to Settings (cogwheel icon in the Service Desk sidebar)
Go to Setup & Monitoring > Asset Management > SNMP OIDs Settings
Step 2
Define a new OID

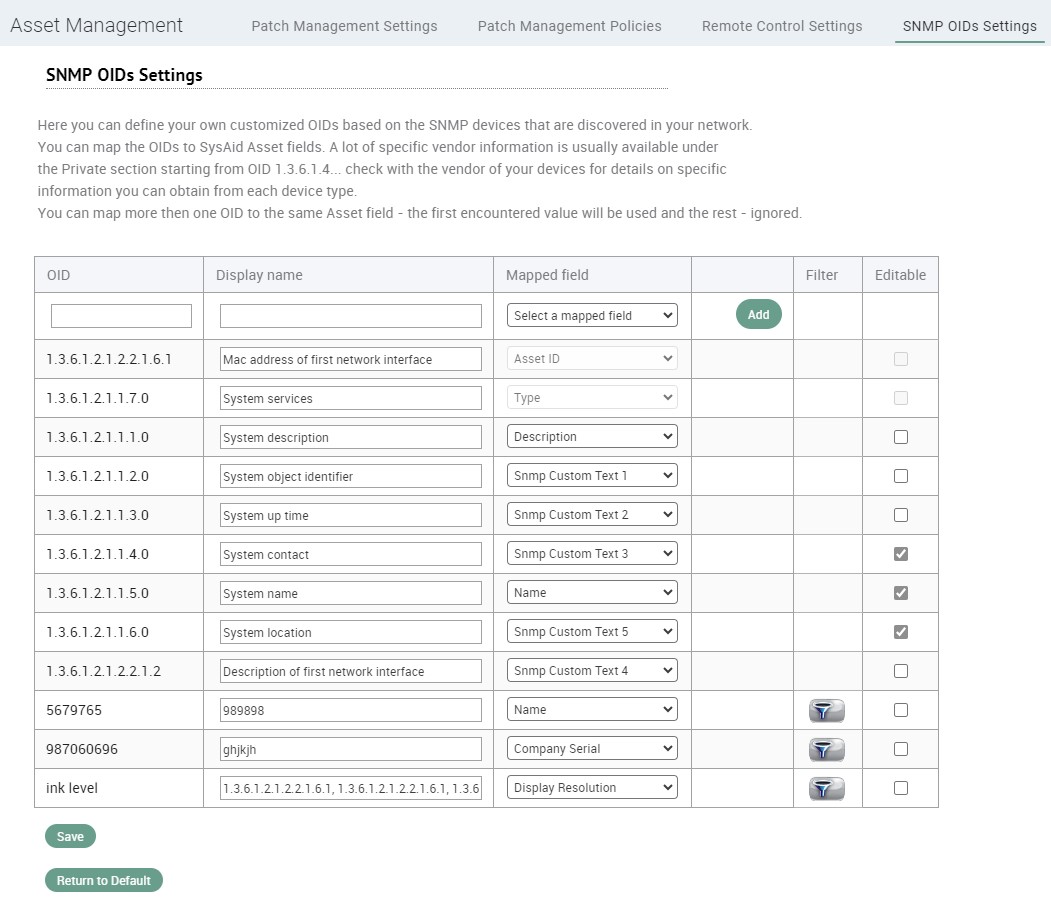
To add a new OID to the list, populate the unpopulated row’s Fields.
This includes:
Field | Description |
|---|---|
OID | Unique identifier (structured as a series of numbers) that specifies a particular variable or data point on a network device. Each number in the sequence represents a node in a hierarchical tree structure (MIB) |
Display Name | Descriptive label assigned to an OID; making it easier for administrators to understand what specific data point or variable the OID represents |
Mapped Field | Designated Field in the Asset Form – storing the data retrieved from an OID. This mapping ensures that whenever an SNMP Scan detects this OID, the data is systematically organized within Asset Management * More than one OID can be mapped to a single Asset field |
How to find an OID
There are various methods for how to find a device’s OID:
Check device documentation
Use SNMP tools for OID discovery (e.g. SNMPwalk, SNMPget, and MIB browsers)
Contact manufacturer support
Online databases
Additional options
Admins can choose to perform the following actions for OIDs when they see fit:
Edit an OID
Enable selective SNMP scanning
Edit an OID
Admins can edit OIDs from two locations in SysAid:
From SNMP OID Settings
Existing OIDs can be edited if their checkbox in the Editable column is checked.
To edit an OID from the SNMP OID Settings, open the page make your changes in its Fields and click Save.
From the Asset Form
Navigate to the asset list in SysAid and select the asset you want to modify.
Enable the 'Editable' option for the SNMP field you wish to edit.
Edit the desired field from the asset form.
Note
The Write to SNMP OID button is only available for SNMP devices.
For non-SNMP devices, Asset Fields are edited normally.
Enable selective SNMP Scanning
In certain scenarios, specific SNMP devices may have OIDs (Object Identifiers) that are unique to their type.
To optimize the efficiency of your SNMP scans, you can configure the SNMP discovery tool to query only these specific OIDs for the relevant device types.
Focusing Queries from the SNMP Discovery Tool
To enable selective SNMP scanning for a particular OID, follow these steps:
Ensure that the custom OID you want to focus on has been added to the SNMP configuration
Click the filter icon next to the custom OID – to open the Expression Builder
Choose the desired filter for the OID (e.g., set the filter to "type = printer" to focus the query on printers only)
Click 'Create Filter' to apply your filter
Click 'Save' to ensure that the selective scanning configuration is applied.