SysAid SNMP Asset Management Guide
    • 21 Nov 2022
    • PDF

    SysAid SNMP Asset Management Guide

    • PDF

    Article Summary

    Introduction to SNMP Discovery With SysAid

    SNMP scanning allows you to discover all SNMP capable devices on your network and import them into SysAid. When creating an asset from an SNMP scan, SysAid uses the MAC address of the first network interface detected on the device as the asset ID.

    What's SNMP?

    SNMP (Simple Network Management Protocol) is used by devices as a method of communicating basic and real-time information across a network.

    Each device contains OIDs (Object Identifiers), variables that communicate data about the device. An OID looks something like 1.3.6.11.2.2.3 with each number representing another level, or branch on an organizational device hierarchy known as a MIB (Management Information Base).

    SysAid uses its own internal logic to determine the device type (DHCP server, router, switch, printer, or "other"). If a device is mislabeled, you can manually change the Device Type in its asset form.

    SNMP in SysAid

    SysAid's Asset Management allows you to perform the following actions for SNMP-compatible devices.

    Prerequisites for an SNMP Scan

    Before scanning for SNMP devices, be sure that the following conditions are in place:

    • The devices you want to discover are enabled for for SNMP version 1, 2, or 3.
    • If a device is enabled for SNMP v3, a password is set on that device.
    • The device's Community string matches the string you define in the scan.
    • If a device limits SNMP access according to IP address or host name, ensure that the device enables access to the RDS or the SysAid server.
    • At least one of the device's network adapters contains a valid MAC address on the following OID: 1.3.6.1.2.1.2.2.1.6.X.
    Note

    SysAid may not be able to locate your device's MAC address if its adapter OIDs are not arranged in sequential order starting with 1.3.6.1.2.1.2.2.1.6.1.

    For more information on these conditions, see the documentation for the devices you want to discover.

    For more information on SNMP, see here.

    SNMP Scan List

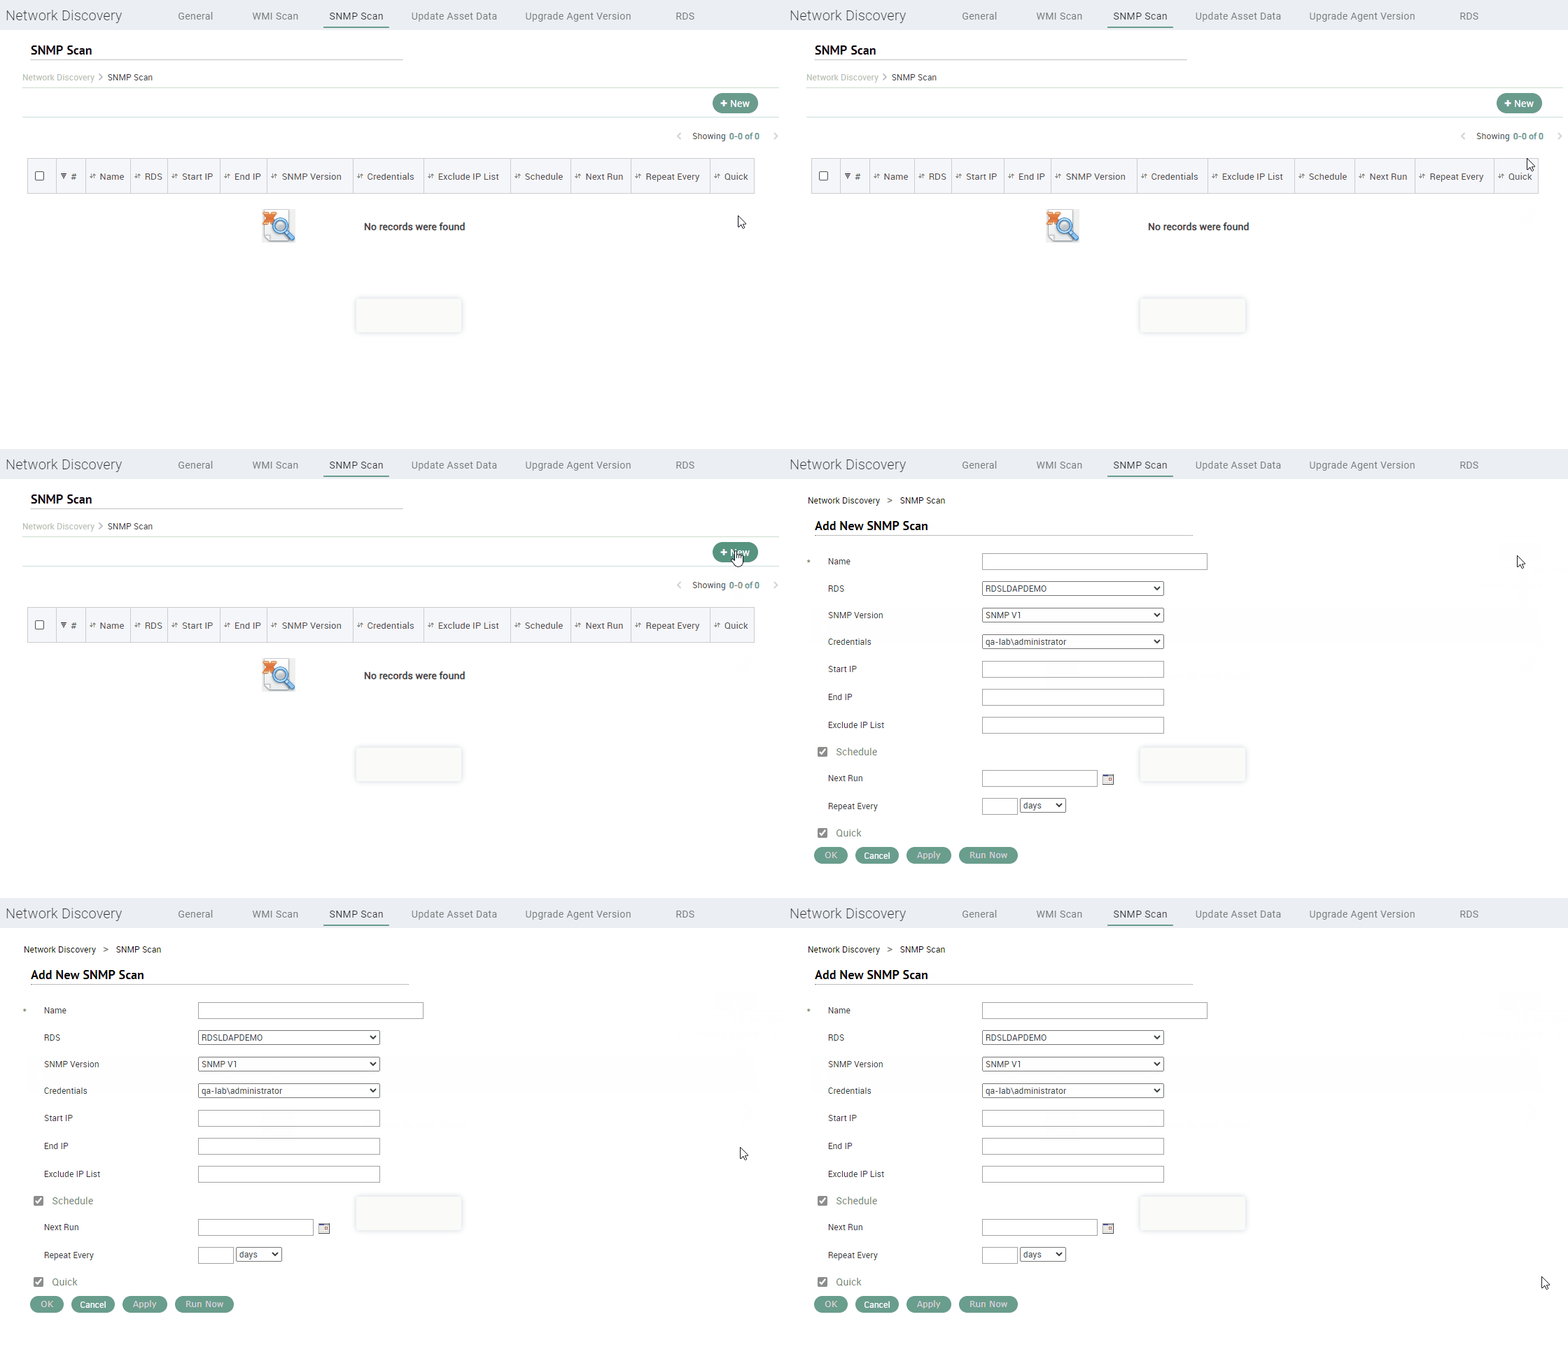
    The SNMP Scan list displays all of your saved SNMP scans.

    DiscoveryfilesSNMPScanList.jpg

    For general instructions for using list pages in SysAid, see Using SysAid Lists.

    Create an SNMP Scan

    To create a new SNMP scan, click DiscoveryfilesNew.jpg.

    Edit an SNMP Scan

    To view or edit an existing SNMP scan, click its row in the list to open the SNMP Scan form.

    Delete an SNMP Scan

    To delete SNMP scans

    1. Select the check boxes corresponding to the SNMP scans you want to delete.
    2. Click Delete.
    3. When prompted, click Delete.

    SNMP Scan Form

    The SNMP Scan form contains all of the information required to discover SNMP assets.

    To access other SNMP Scan records or to delete SNMP scans, see the SNMP Scan List.

    SNMP Scan Fields

    Field
    Description
    NameThe name you select for this SNMP scan.
    RDSSelect the RDS you want this scan to use to scan for the assets.
    SNMP VersionSelect the version of SNMP you want to use when scanning your network. If a device does not support the selected SNMP version, it may not be discovered during the scan.
    CredentialsSelect the credentials to apply to the RDS you select for this SNMP scan. To view all of the existing sets of credentials or create a new set of credentials, see the Credentials list.

    Be sure that the selected credentials contains the correct community name in the User Name field, and that the password field contains the community string. Also ensure that the Valid for SNMP check box is selected.
    Start IP Enter the starting IP address for the IP range you want to scan.
    End IPEnter the ending IP address.
    Exclude IP ListEnter IPs you want to exclude from thedefined IP range. Use commas to separate multiple entries.
    ScheduleSelect the check box if you'd like this scan to run on a defined schedule.
    Next Run

    If you selected the Schedule check box, select the first date to automatically run the scan.

    Repeat Every

    Select the interval on which the scan runs.

    Quick

    Select the check box for a quick scan. When selected for this scan, SysAid runs the scan on the online computers within the defined IP range only.


    A quick scan is faster, but may miss any computers that come online after the list of online computers is prepared.

    When you complete the form, select Apply or OK.

    To manually run this scan, click Run Now.

    SNMPScanFormfilesSNMPFormSNMPForm.jpg

    SNMP OIDs Settings

    Here you can find a table with a list of common OID keys used by manufacturers of network devices. You can also manually add device specific OIDs as necessary. OID mapping allow you to map data imported from an SNMP scan into a corresponding field on the asset form.

    CustomizedSnmpOidsfilesimage002.jpg

    To add a new OID, enter the OID and a display name that defines the function of that OID. Then select a field on the asset form to map the data to. Afterwards, whenever that OID is detected in an SNMP scan, the data it contains will be copied to the chosen field on the asset. Check with the vendor of your devices for details on specific information you can obtain from each device.

    You can choose to map more than one OID to the same Asset field. If two or more OIDs point to the same field on an asset, the first encountered value will be used and the rest ignored.

    Editing SNMP OIDs

    SysAid allows you to write to your SNMP devices. Check the box Editable if you would like to be able to edit a specific SNMP field from within SysAid. You may edit the desired field from the asset form (go to the asset list and open the asset you would like to edit).

    Editing an SNMP OID
    CustomizedSnmpOidsfilesimage004editimage004edit.jpg

    Note

    On the asset form, the write to SNMP OID button is only available for SNMP devices. For non-SNMP devices, asset fields are edited normally.

    Focusing Queries From the SNMP Discovery Tool

    There may be cases where a specific SNMP device has an OID that is unique to that type of device. You can direct the SNMP discovery tool to query that OID only for that particular type of device, thereby speeding up your SNMP scans. An example would be an OID for a printer that indicates low toner. You would not need to query this OID for any device that is not a printer. This feature is only available for custom OIDs that you add, not those that come preconfigured with SysAid.

    To enable selective SNMP scanning for a particular OID

    1. First, make sure that you've added the custom OID.
    2. Click the filter icon CustomizedSnmpOidsfilesimage009.gif for that OID. The Expression Builder opens.
    3. Choose the desired filter for that OID. An example could be "type = printer."
    4. Click Create Filter to apply your filter. This closes the Expression Builder.
    5. Click Save.

    SNMP Assets

    Write to SNMP Devices

    If you have mapped an SNMP OID to a specific field and enabled editing of that OID, you can change the value of that OID. Keep in mind that this changes the field value not just in SysAid, but also on the SNMP device itself.

    To write to an SNMP device

    1. Next to the name field, click CompInfofilesimage002.gif.
    2. Enter the updated value for the Name field on the device.
    3. Select the credentials you want to use to authenticate your change.
    4. Click Update.

    Edit SNMP OID
    CompInfofilesEditSNMP.jpg

    Update SNMP Assets

    The SNMP scan only creates assets, it doesn't update them. You can update SNMP assets by scheduling an update in the Update Asset Data page.

    To schedule updates of SNMP assets

    1. Navigate to Settings > Network Discovery > Update Asset Data.
    2. In the Filter Expression column, click .
    3. Set the query to assets with a source of SNMP.
      Discoveryfilesquery.jpg
    4. Click Create Filter.
    5. Use the Date/Time picker to select a date and time for the update to run.
    6. In the Repeat Every column, select how often the update should recur.
    7. Click Add.

    Monitoring SNMP Traps

    A trap is a message sent by an SNMP device that has not been requested first by the SysAid Server. This tab allows you to manage the notifications you receive when one of your SNMP devices sends you a trap.

    Note

    By default, this tab only appears on the Network Devices configurations page. However, it can be added to servers or workstations by clicking image.png

    MonitorConfigurationEditfilesTrapsmonitoringTrapsmonitoring.jpg

    These traps can generate the following types of data:

    Cold Start
    The SNMP device has reinitialized itself and its configuration may have changed.

    Warm Start
    The SNMP device has reinitialized itself and its configuration has not changed.

    Link Down
    One of the communication links in the SNMP device goes down.

    Link Up
    One of the communication links in the SNMP device that was down is no longer down.

    Authentication Failure
    The SNMP device received a request from a source that couldn't be properly authenticated.

    EGP Neighbor Loss
    An EGP (Exterior Gateway Protocol) peer of the SNMP device has gone down and can no longer be reached.

    Enterprise Specific
    A condition or error specific to the individual SNMP device.

    To create notifications for traps received from an SNMP device

    1. Choose the desired Traps Level. If you would like to receive notifications for all traps, select All.
    2. Choose an appropriate Error notification from the drop-down list.
    3. Click Add.
    4. Repeat steps 1 - 3 for all trap levels that you want to receive notifications for.

    Once you've added all the trap notifications you need, click Apply.