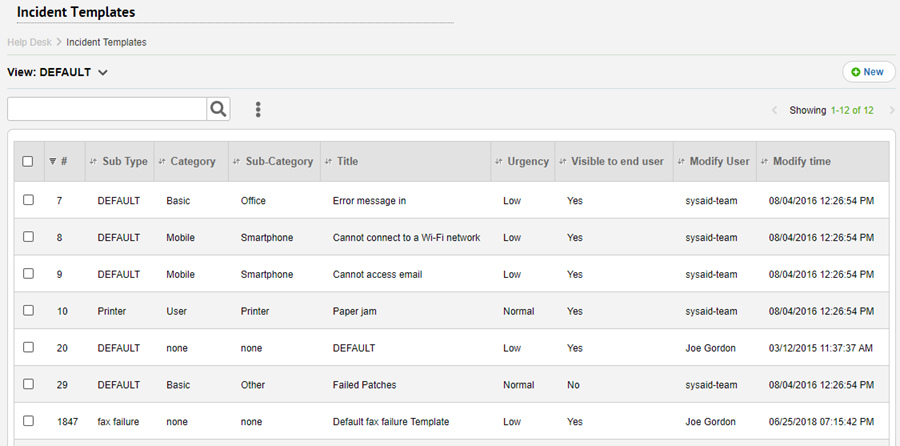
By selecting a template when creating a new incident, all fields on the incident will be automatically filled out as they appear in the template. This can be very helpful if your help desk receives many incidents of the same type (e.g. printer paper jam). Each template can also display its own fields (according to the selected sub type), so use templates to add or remove fields from the incident form as needed.
It's recommended to create templates for all of your most common problems.

For general instructions for using list pages in SysAid, please go here.
Creating and modifying incident templates
Click  to create a new incident template. Click on the row of an existing incident template to edit it. For more information about creating and editing incident templates, please go here.
List Actions
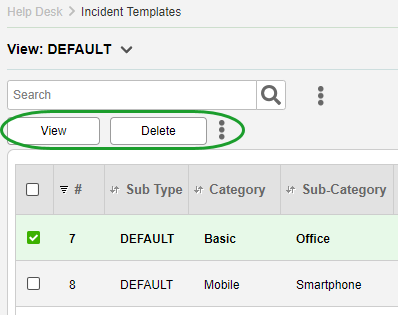
There are a number of actions you can perform on your list using the actions list. To open the actions list, select one or more list entries using the tickboxes at the left end of each row. This opens the actions list:

View
View details of the selected incident templates. You can use the left/right arrows next to the form title to cycle between the selected incident templates.
Delete
Delete the selected incident templates.
Export to Excel
Click  and click Export to Excel to export the list to a .csv file in Excel.
Print to PDF
Click  and click Export to PDF to export the list to a .pdf file.