Introduction
SysAid is available in two editions: a fully Cloud, SAAS solution and an installed, In-House solution. This document describes how to install the SysAid On Premises edition (Windows version).
SysAid is a web application. You need to install the SysAid server, which all users access. SysAid includes a Tomcat web server; you do not need to install one separately.
Users accessing the help desk connect to the SysAid server via a web browser. For asset management, you deploy the SysAid agent to your network's computers. Please see the Agent Deployment guide for more information about installing the SysAid agent.
Security guidelines and instructions to follow:
If you are hosting SysAid via our installed in-House solution, please make sure you follow the security guidelines below:
Security guidelines and instructions to follow:
- Make sure you are installing the latest version of SysAid and are regularly following our website for updates.
- Make sure the server you are running SysAid on is updated to the latest OS versions and security patches.
- Make sure access to the Server where SysAid is installed on is accessible only from your local network or VPN and via 2FA
- Make sure you security controls such as EDR (Endpoint Detection and Response) and WAF installed on your SysAid server like any other application in your network that needs to be
- It is strongly recommended to block access from the outside world to your SysAid Server, if for business reasons you need access to the server from the outside world make sure to take actions like installing a WAF and other security measures. Consider our Cloud SaaS solution which is secured by following the highest security industry standards.
SysAid Server System Requirements
The minimum requirements* for SysAid are:
Up to 500 Assets | 500 Assets up to 2000 | More than 2000 Assets | |
|---|---|---|---|
Hardware |
| ||
Processor(s) | 2.0 GHz | Dual Core Xeon or equivalent | Quad Core Xeon or equivalent |
Memory | 2 GB | 2 GB | 4 GB |
Free Hard Disk Space for application | 4 GB | 4 GB | 4 GB |
Expected data base growth per a year | 4 GB | 16 GB | 8 GB per 1,000 assets |
Software |
| ||
Operating System** – Supports both 32 bit and 64 bit | Windows****: 10, 8, Server 2019, 2016, 2012, 2008 | ||
Database*** | MS SQL ( 2008, 2008R2, 2012, 2016, and 2019), MySQL 5.X, Oracle (11g)**** | ||
* If you are using Patch Management, make sure to also consider the requirements in the Patch Management table.
**Environments with more than 2,000 assets require a 64-bit operating system.
*** SysAid includes MS SQL 2008 R2 Express database, but you can choose to integrate with MS SQL, or MySQL instead.
**** Oracle is not supported in versions 21.4 or higher.
If you set up your own MS SQL database, ensure that it uses the Latin1_General_CI_AS Collation.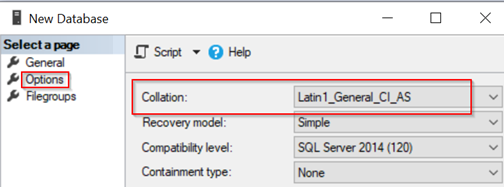
****.NET Framework 3.5 SP 2 or above must be installed in order to perform network discovery.
For optimal performance, we recommend using an RDS node and adding an additional node for every 2000 assets in your system. For more information, see the SysAid Remote Discovery Service Guide.
High UAC settings can negatively impact the installation. If you experience a problem with your installation, please lower the UAC setting for the user and try again.
Install SysAid
When you registered for a trial of SysAid or placed your order for SysAid, you received an email with a link to download the SysAid server and an attached activation file, activation.xml.
- Restart the computer.
- Download the SysAid Server installation file using the link provided in the email.
- Download the activation.xml file to the server you want to install SysAid on.
- Run the SysAid Server installation file. The file name is either SysAidServer.exe or SysAidServer64.exe. This opens the installer.
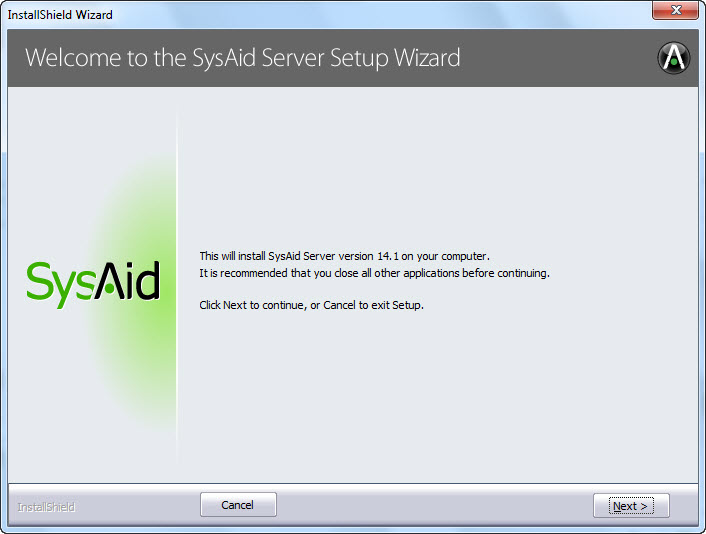
- It's recommended to close all non-essential applications. When you have done so, click Next. This opens the license agreement screen.
Figure 1: SysAid Server Setup wizard
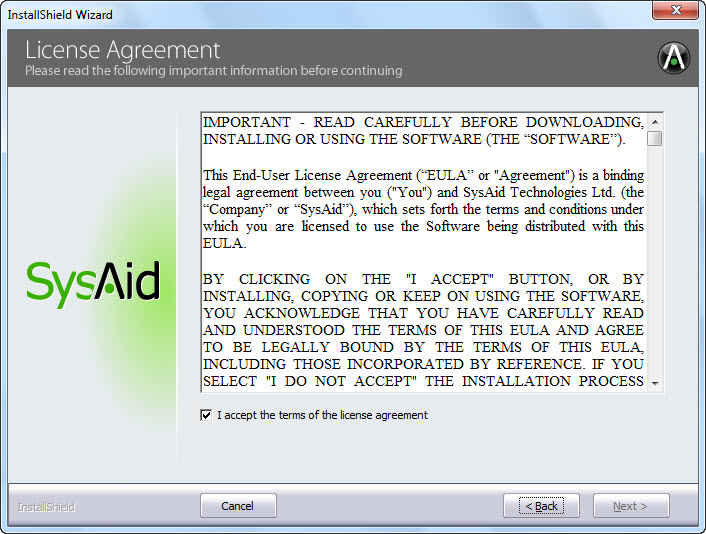
- Please read through the SysAid Server license agreement. If you accept the terms and conditions, please click "I accept the terms of the license agreement" and then click Next.
Figure 2: SysAid License agreement
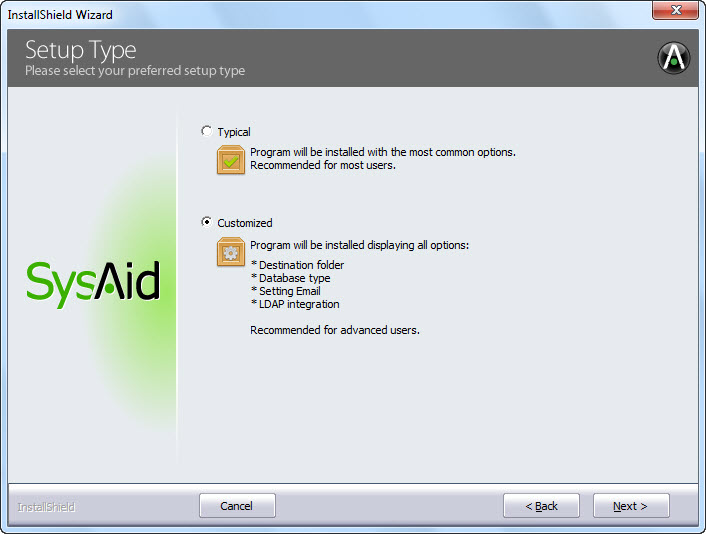
- Choose whether to use the Typical or Custom installation settings. Choosing customized installation gives you the following additional options:
Configuration Option Default Can be changed later Select SysAid installation directory C:\Program Files\SysAidServer Select start menu folder for SysAid shortcuts SysAid 
Select the database type: Embedded MS SQL Express, MySQL, MS SQL Embedded MS SQL Express Enter SMTP information for your outgoing mail server None 
Choose the listening port for the Tomcat web server 8080 
Configure LDAP integration using Active Directory None 
Choose the default SysAid language English 
If you choose Typical installation, skip to Applying Your License File. If you choose Customized installation, continue on to Step 11.
Figure 3: Choosing a setup type
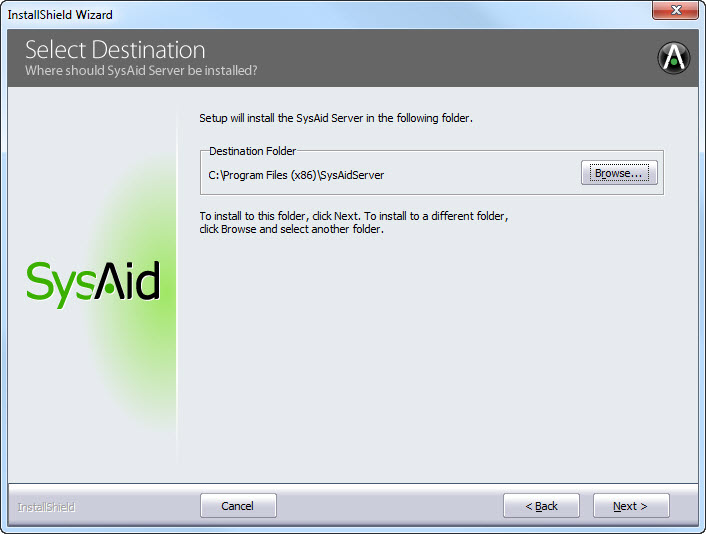
- The page that appears allows you to select the installation directory for the SysAid server. It is recommended to use the default directory. After you have chosen a directory, click *Next.
Figure 4: Selecting an Installation directory for the SysAid Server
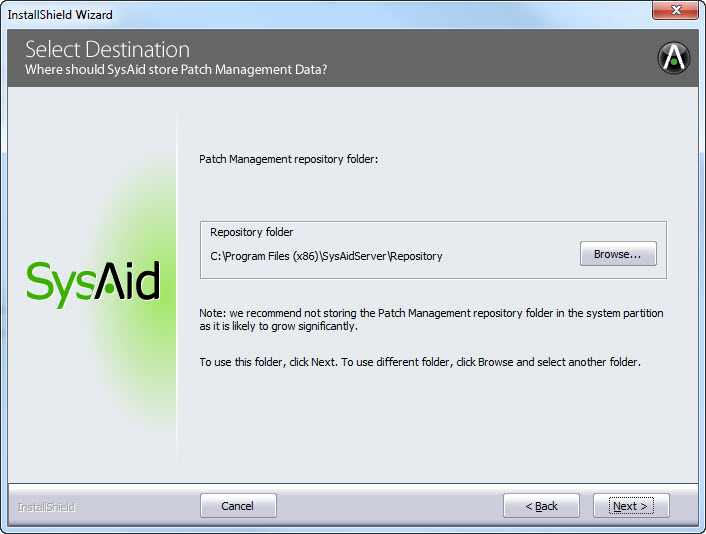
- The next page allows you to select the directory for Patch Management data. It is recommended to use the default directory. After you have chosen a directory, click Next.
Figure 5: Choosing a folder for the Patch Management data
- SysAid prompts you to select a Start Menu folder for the SysAid shortcuts.
Figure 6: Choosing a folder for the SysAid Start Menu shortcuts
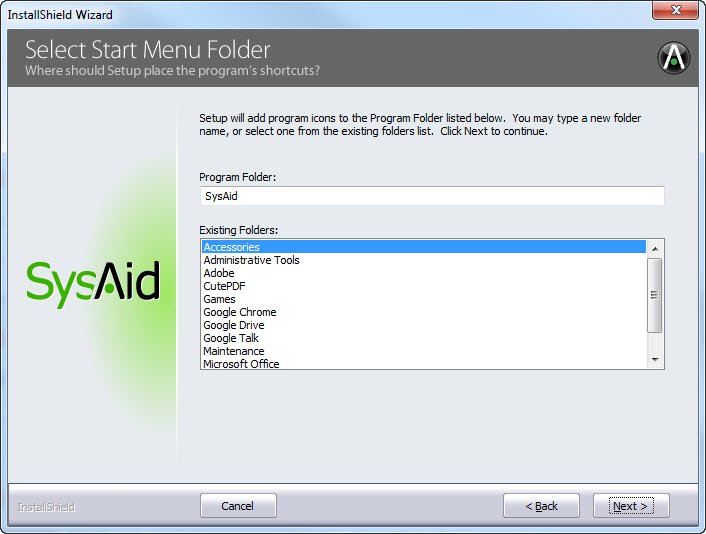
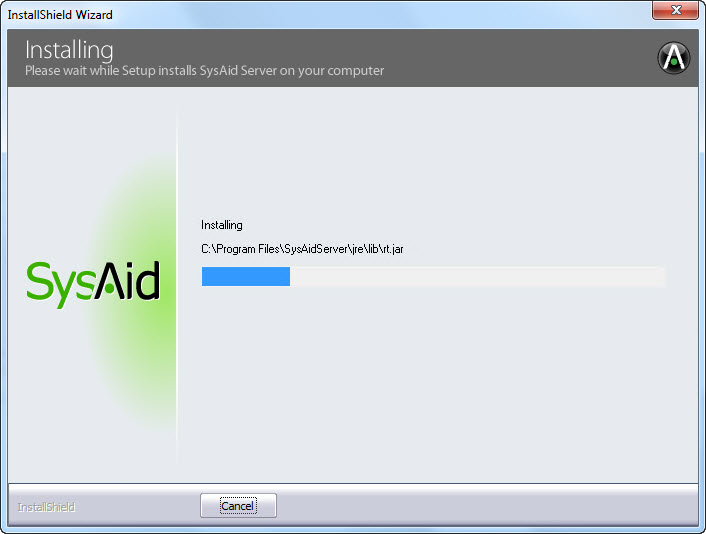
- Choose a folder and click Next. SysAid installation begins.
Figure 7: Installation in progress
Apply your license file
Setup now asks you to input your license file. Select the license key you saved during Step 2 above, then click Next. If you chose Typical installation, skip now to Initializing Your Account and Setting Up A Username and Password.
Figure 8: Uploading a license file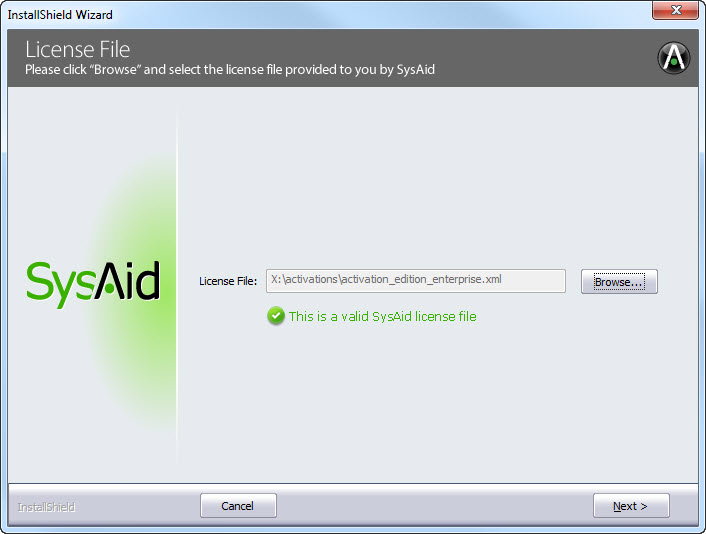
Select a database
SysAid comes bundled with MS SQL 2008 R2 Express database. This is the default option when installing SysAid. However, you may also connect SysAid with an external database -- either MS SQL, or MySQL.
Figure 9: Choosing a database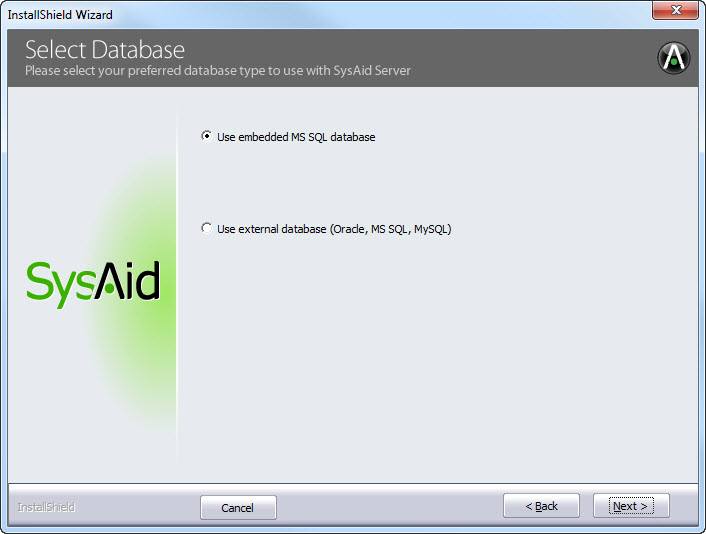
Embedded MS SQL Express database - default
If you choose to use the embedded MS SQL Express database, SysAid configures everything for you.
Figure 10: Selecting MS SQL Database settings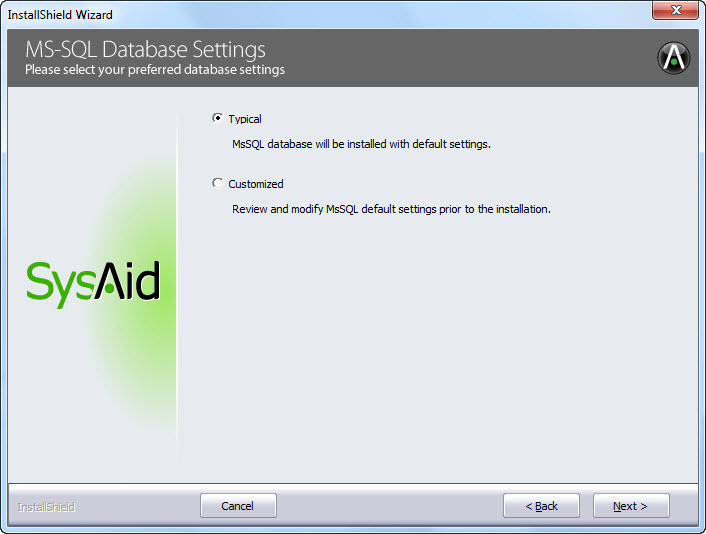
ChooseUse embedded MS SQL database andclickNext.You can choose to install MS SQL Express with the default settings by selectingTypical,or you can customize the settings by selectingCustomized.
If you select Customized, the database settings appear.Figure 11: Customizing MS SQL Express Database settings
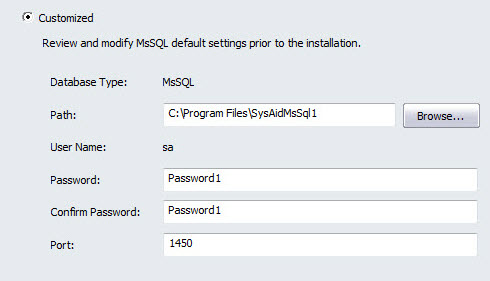
Path
You can change the location where the database is stored. Click Browse to navigate to the folder you want, select the folder and click OK.User Name and Password
You cannot change the default user name here, but you can change the password if you like.
Note: The password must contain at least eight characters, one uppercase letter, and one number.Port
You can change the port that the database will use.- Click Next. Please wait while the database installation begins.

- Click Install. The MS SQL Express program is installed locally.
As part of this process, MS SQL opens multiple windows on your screen. Please wait; the windows close automatically as the installation progresses.
- When the program installation is complete, click Next.
Do not change the database connection settings that appear.
Figure 12: Reviewing MS SQL Express connection settings
- Click Check Connection to verify that SysAid can successfully connect to the database.
- If the connection is successful, click Next to proceed with the installation. If the connection is unsuccessful, please consult your local database administrator (DBA) or contact SysAid for support.
External database
Another option is to use your own external database.
- Choose Use external Database and click Next. This opens the Database Connection setup.
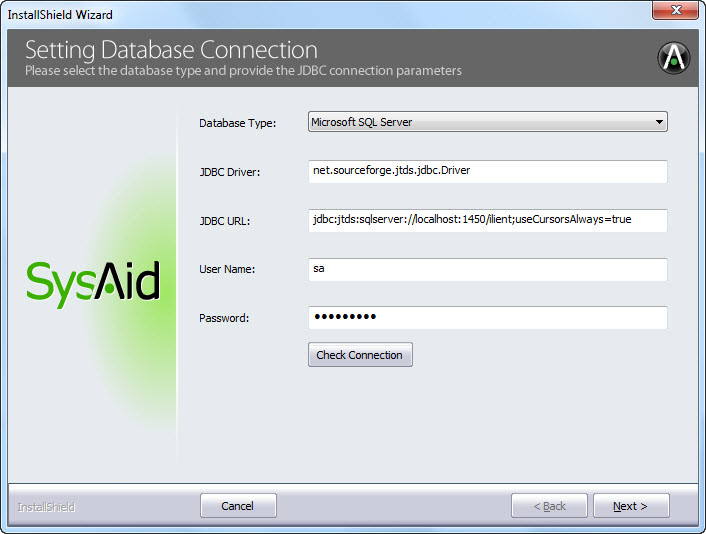
Figure 13: Setting the database connection
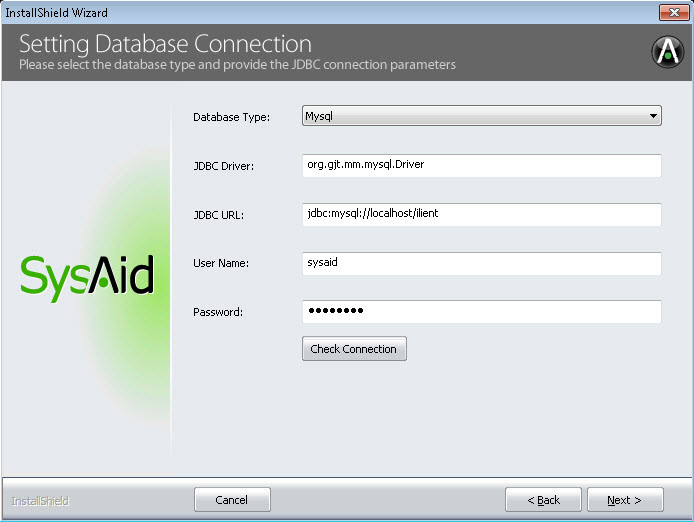
- Choose the database type you want to use.
- JDBC Driver field refers to the software needed to manage the database. SysAid suggests a default driver based upon your choice. You may change it if necessary.
- JDBC URL identifies the name and location of the database.
- In order to ensure proper functionality of SysAid, your database encoding should be UTF-8. If your DB is not in this format, you receive an error message (you may continue, but some letters/characters might not display correctly within SysAid).Note:Note : As of version 19.2, you must configure the time zone as part of the DB connection string. Therefore we've added the option to select the time zone as part of our installation and upgrade processes.
Install SysAid with MS SQL or MySQL*
- Create an empty database on the server of your choice.
- Specify the JDBC URL for your empty database. Replace localhost with the SQL server hostname or IP address and replace ilient with the name of your database.
- Enter the username and a password of a user who has sufficient privileges on that database (DBO). For MS SQL, you can use the SA account and for MySQL, you can use the root account.
- Click Check Connection to verify that SysAid can successfully connect to the database. If the connection is successful, you may proceed with the installation by clicking Next. If the connection is unsuccessful, please check that you have correctly created the database and that you have typed the correct values into all of the fields. If the connection is still unsuccessful, you may consult your local database administrator (DBA) or contact SysAid for support.
*SysAid supports up to version 5.7 of MySQL.
Install SysAid with an Oracle database *
- Create a new user in an existing database on your server, and grant DBA permissions to that user.
- Specify the JDBC URL for your database. Replace localhost with your Oracle server hostname or IP address and replace ILIENT with the database name.
- Enter the username and password of the user that you created before.
- Click Check Connection to verify that SysAid can successfully connect to the database. If the connection is successful, you may proceed with the installation. If the connection is unsuccessful, please check that you have created a valid user with the correct permissions and that you have typed the correct values into all of the fields. If the connection is still unsuccessful, you may consult your local database administrator (DBA) or contact SysAid for support.
*Oracle is not supported in versions 21.4 or higher.
From this point on, SysAid stores its data in the selected database.
Set up outgoing email
On this screen, you can specify your settings for outgoing email.
- Input your Mail server (SMTP). This is your outgoing email server. If you would like to set up email integration later, click Skip.
- In the Reply address field, enter the outgoing email address for your SysAid server. This can be any email address set up on your mail server.
- Click Next. SysAid attempts to verify the connection. If you are using an external SMTP server that requires authentication, such as Gmail, you cannot verify the connection at this stage. Click OK to proceed.
Figure 14: Configuring outgoing email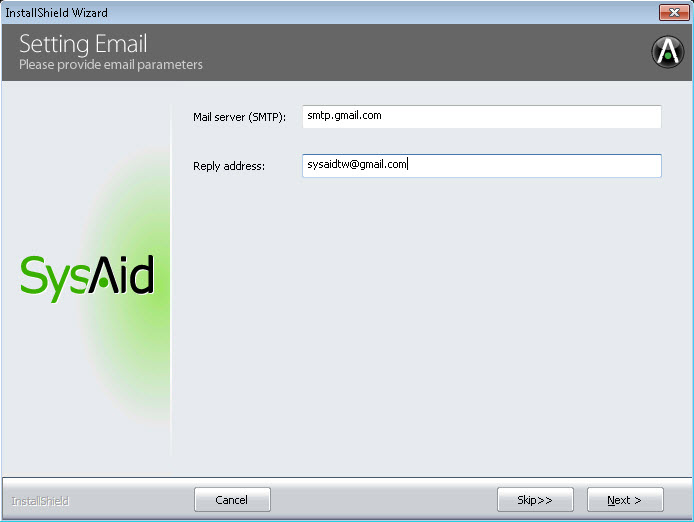
Choose the Tomcat listening port
Choose a Server HTTP port. This is the port the SysAid Server listens on. The default is 8080. You use this port number when logging into SysAid (this is detailed later on). Unless you have another service already listening on port 8080, there is no reason to change this.
Figure 15: Choosing the Tomcat listening port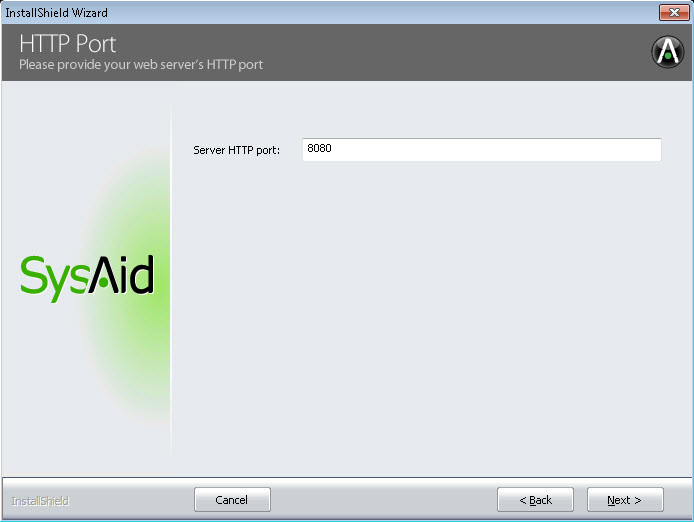
Lightweight Directory Access Protocol (LDAP) integration
You can import your users into SysAid using a compliant active directory software, like Microsoft Active Directory, Open LDAP, or Novell LDAP.
Advantages of LDAP integration include:
- Automatically import all of your users and user groups into SysAid.
- Manage users for SysAid through your LDAP instead of in SysAid, saving you the time and energy of having to enter all information twice (once in LDAP, once in SysAid).
- Authenticate through LDAP instead of through SysAid, consolidating all login attempts into one place (your LDAP).
- Enable single sign-on so that users are automatically logged into SysAid the moment they log into their computers.
To learn more about LDAP integration, please go here.
The LDAP Integration Wizard found here works only for Microsoft Active Directory. If you do not want to use LDAP integration, or if you would like to use a different LDAP software, you can click Skip.
To set up LDAP integration for Microsoft Active Directory:
- Select your LDAP server type from the drop-down list.
- Enter the Server Address, which is the hostname or IP Address of the LDAP server.
- Enter your Server Port. This is the port used to connect to the LDAP server. The default is 389.
- Enter a User Name and Password that has read permission on your LDAP.
- Enter the Active Directory Domain. This is the NetBIOS domain name.
- Click the Next. SysAid attempts to connect to your AD. If the connection is not successful, please recheck the connection parameters, and verify that you have entered a valid username and password. If you are still unable to connect, please contact SysAid Support.
After successfully setting up LDAP here, all of your users are imported into SysAid automatically, even before you log in for the first time.
Figure 16: Setting up LDAP integration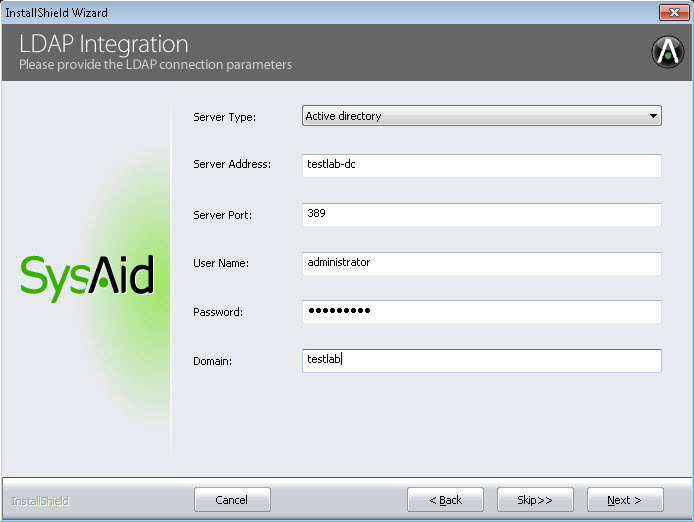
Choose the default language
The next thing to do is choose your default language for SysAid. Choose from one of the nine available languages. If your language is not in the list, you can still use SysAid in your language of choice by editing the translation file after you've completed installation. Also, the End-User Portal is available in 42 different languages, any of which may be selected after you finish the installation.
Figure 17: Choosing the default language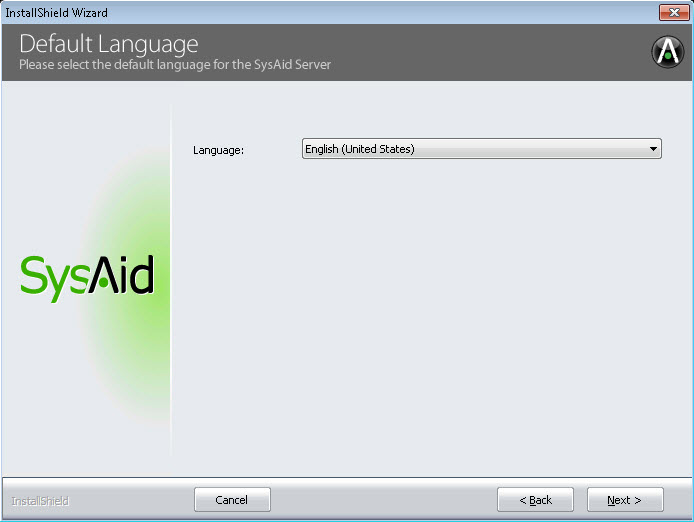
Initialize your account and set up a user name and password
You've now reached the final step in installation, initializing your account. Complete the following steps to finish your SysAid installation:
- Review the Account ID and Serial Number fields. These fields were pre-populated when you uploaded your license key earlier during the installation.
- Choose a username for the main SysAid Administrator. Do not forget this username; you log in with it if you need to troubleshoot LDAP integration.
- Enter a password, and then confirm your password.
Figure 18: Initializing your account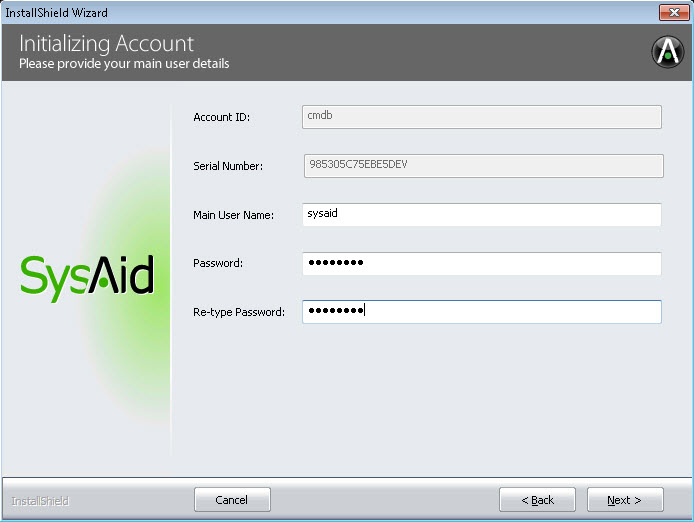
- Click Next.
- Please wait while the database initializes.

- You should now receive a confirmation screen letting you know that SysAid has been successfully installed. Click Finish to close the installer.
Figure 19: Installation complete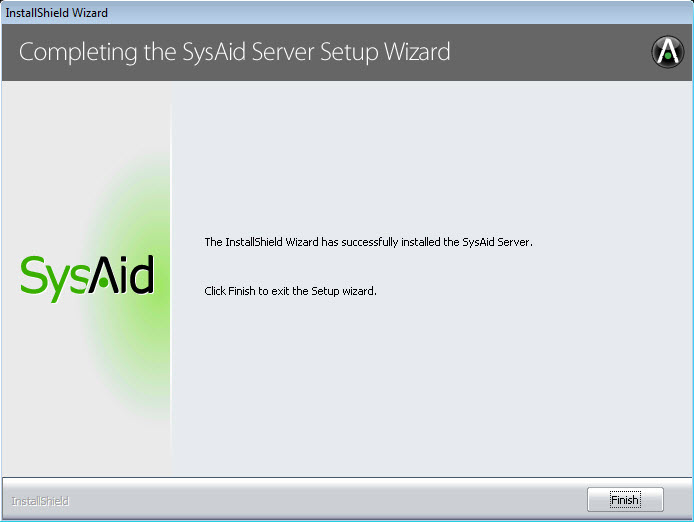
Installation is now complete. The SysAid Server runs as a service. It can be found on the list of services running on your computer under the name "SysAid Server."
After completing installation, the SysAid login page opens in a browser window (it take a minute until it loads, as the SysAid Server is still initializing). Another window opens with the Getting Started Guide. Be sure to read through this guide to learn where to go and what to do when you first start using SysAid.
Getting started
Now that SysAid is installed, you would like to begin using it. To log into SysAid:
--Either--
- Click on the Desktop/Start menu shortcut for SysAid.
- On the Login screen, enter the username and password you specified during installation.
- Click Login.
--Or-- - Open any web browser.
- In the URL bar, enter the IP address or hostname of the server where you installed SysAid, followed by a colon (:), followed by the listening port (which you configured above). Example: http://<server IP/hostname> :<port>
- On the login screen, enter the username and password you specified during installation.
- Click Login.
Congratulations! You've installed SysAid and are now logged in. You will now want to ensure that all of your users are imported into SysAid, install the SysAid agent for asset management, and configure SysAid's many preferences to suit your specific needs. If at any time you need assistance, access the Online Help by clicking your user name in the top right corner and choosing Online Help, this opens a window containing the help topic for the current screen. Also be sure to read our Getting Started guide, which shows you where to go and what to do as you take your first steps with SysAid. Our support team is always available to help you as well. You may contact them at helpdesk@sysaid.com.