SysAid’s Chromebook integration allows admins to automatically and securely pull information from G-Suite Inventory to SysAid. This provides them with centralized access to their asset information; enhancing their capability to easily track Chromebook devices in their network and improve their efficiency.
Set up the Chromebook integration in G-Suite
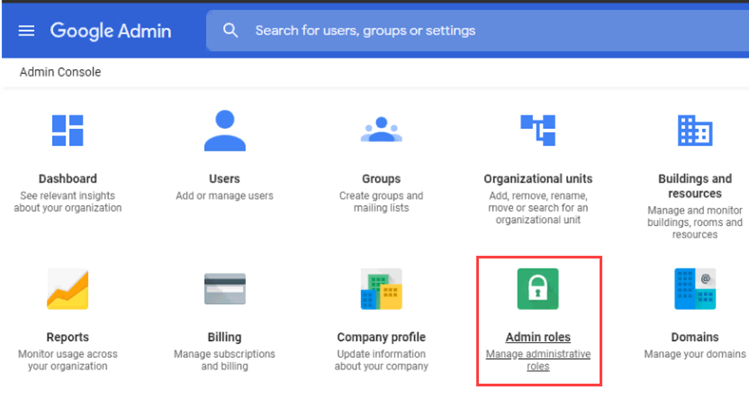
- Navigate to the Google Admin Console click Admin Roles.
- Ensure that there is a user with Super Admin permissions.
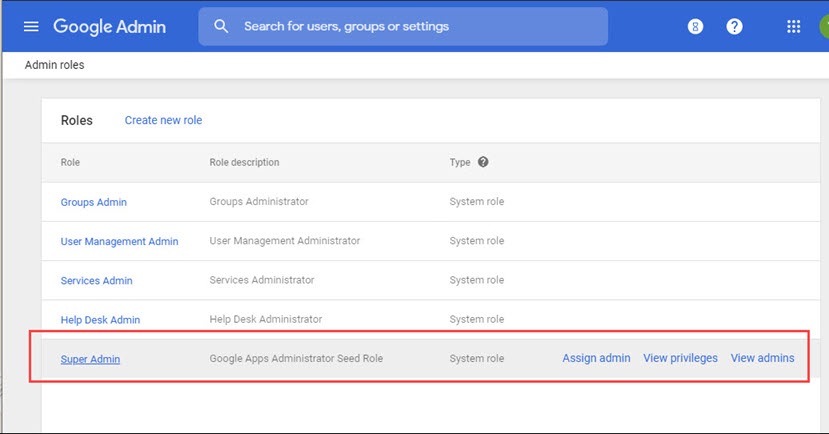
- Copy the Super admin's email address and paste it in a text file to save for a later step in this process.
- Navigate to Google Cloud Platform Console. If you haven't used this Google Cloud Platform Console yet, agree to their terms and conditions.
- Generate the JSON authentication:
- Select the project drop-down and click New Project.
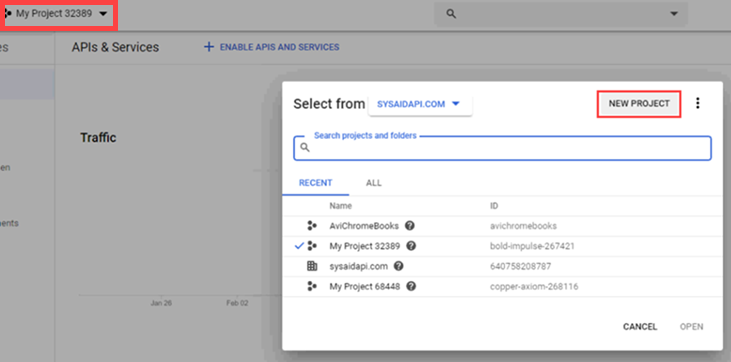
- Enter the a project name.
- Click Create.
- If you already have existing projects, select the project you just created from the project drop-down.
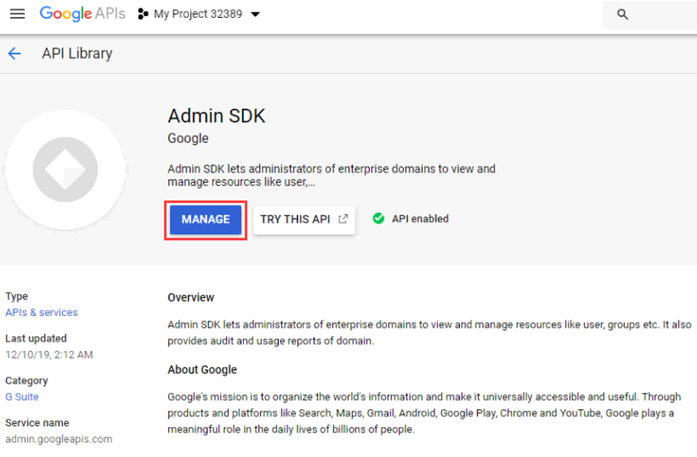
- Click Library and search for 'Admin SDK.'
- Click Manage or Enable, depending on whether you've already enabled the Admin SDK.
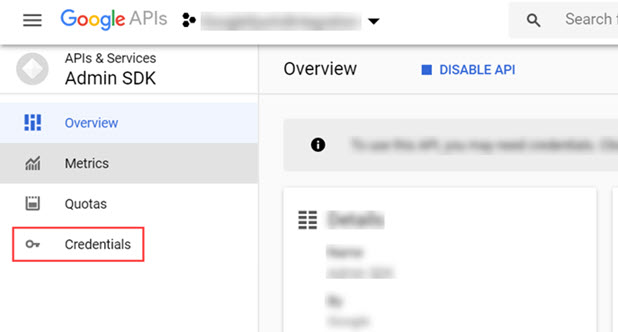
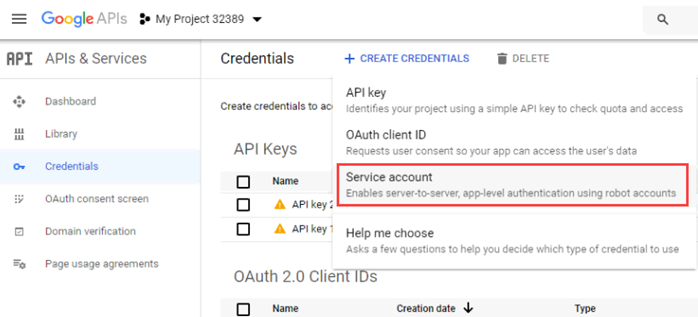
- Click Credentials.
- Navigate to Create Credentials > Service Account.
- Enter a service account name.
- Click Create.
- Click Continue.
- Click Done.
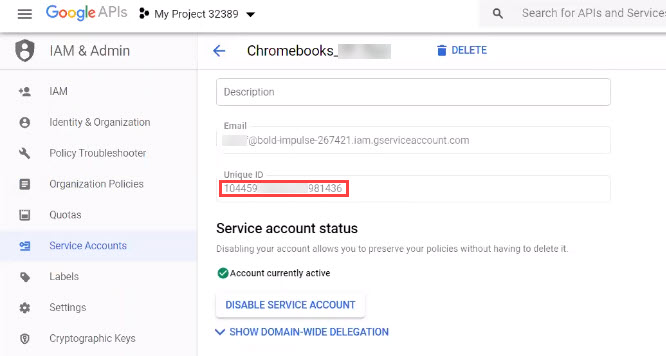
- Open the service account that you just created.
- Copy the Unique ID number and paste it in a text file to save for a later step in this process.
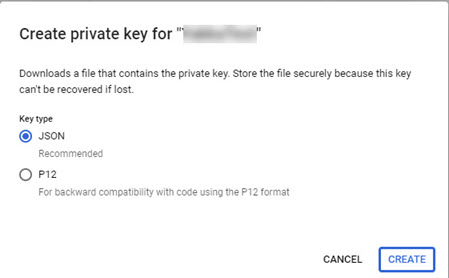
- Navigate to Add Key > Create New Key.
- Make Sure that JSON is selected, and click Create.
- Click Close in the Confirmation message that appears.
- Click Save.
- Open the JSON file that's been created on your computer.
- Remove all the carriage returns from the JSON text. We recommend using an JSON editor application such as this to automatically perform this modification.
- Save the JSON in a text file.
- Select the project drop-down and click New Project.
- Generate the customer ID:
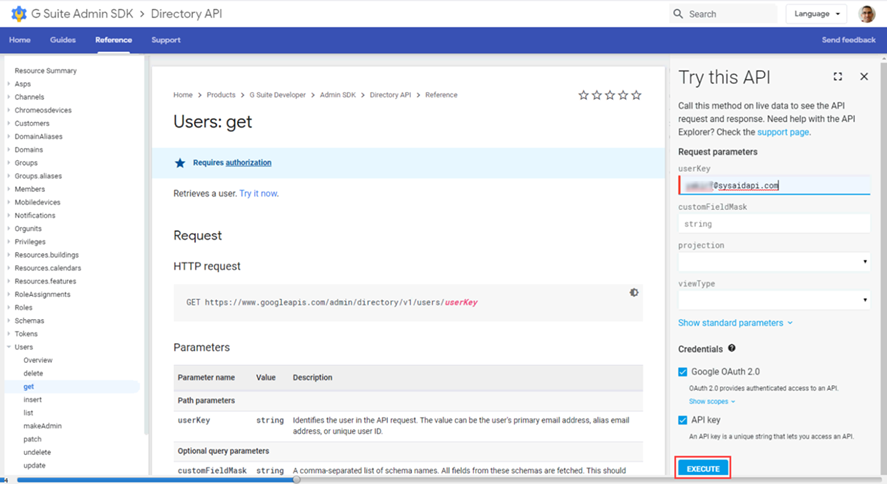
- Open the following URL: https://developers.google.com/admin-sdk/directory/v1/reference/users/get.html
- In the userKey field, enter the email address of the G Suite super admin that you copied earlier.
- Click Execute.
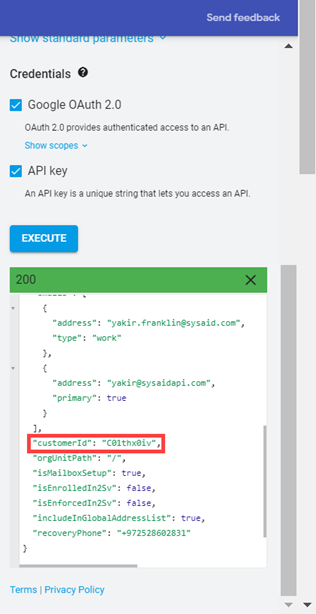
- In the HTTP response that opens, copy the value of the 'customerId' parameter and paste it in a text file to save for a later step in this process.
- Grant Google API access to SysAid.
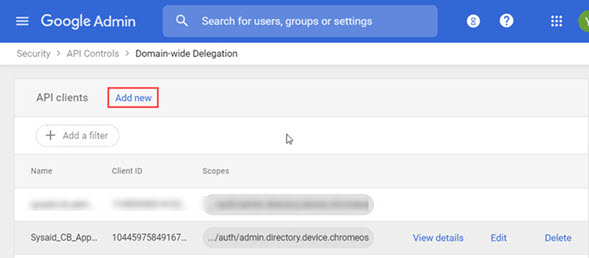
- Back in Google Admin, navigate to Security > API Controls.
- Click Manage Domain-wide Delegation.
- Click Add new.
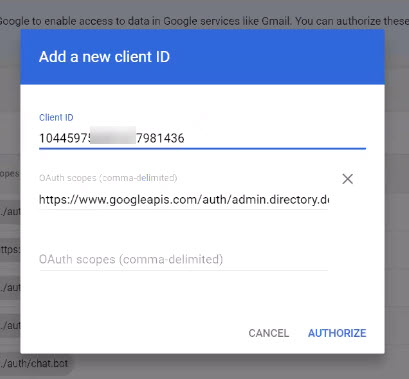
- Enter the Client ID that you copied earlier.
- In the OAuth Scopes field paste the following URL: https://www.googleapis.com/auth/admin.directory.device.chromeos.
- Click Authorize.
Set up the Chromebook integration in SysAid
- From the SysAid Marketplace, request the Chromebook addon and/or contact your account manager.
- Once the Chromebook add-on file has been added to your account, navigate to the My Apps page and click
 in the Chromebook icon.
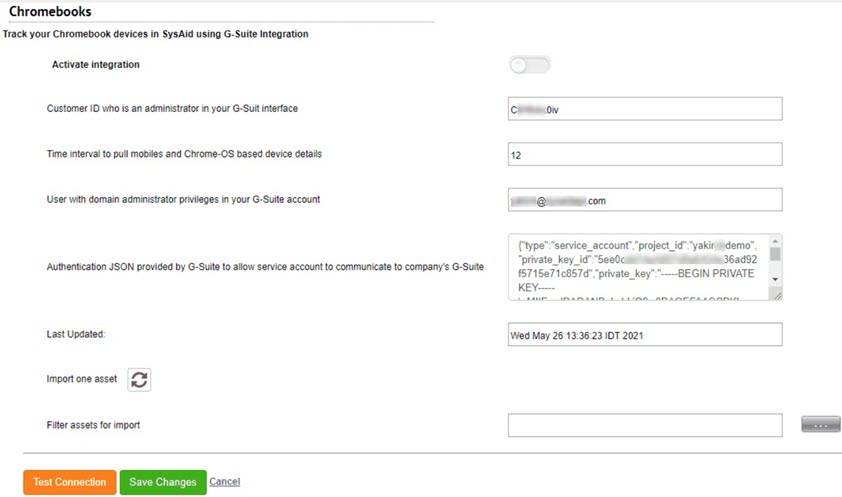
 - In the customer ID field, paste the customer ID parameter that you copied.
- Ensure that the number 12 is entered in the interval field.
- Enter the email address of your G-Suite domain administrator you used to generate the customer ID.
- Copy the formatted JSON text you created, and paste it into the JSON authentication field.
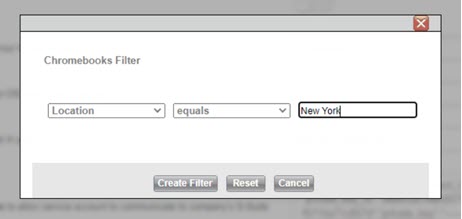
- (Optional) Filter the Chromebook devices imported by the integration:
- In the Filter Assets for Import field, click
 .
. - Select the filter conditions from the first two drop-downs and enter the value into the text box.
- Click Create Filter.
- In the Filter Assets for Import field, click
- Click Save Changes.
- Click Test Connection to verify that you are connected to G-Suite. The Test Connection button is only enabled if the initialization steps are completed.
- For verification purposes, click Import One Asset. The Chromebook integration imports a single asset for verification purposes.
- When you've verified the success of the test import, click the Activate Integration slider. Chromebooks assets will be imported to SysAid within 12 hours.
- Click Save Changes again.
Using the Chromebook integration
Once your Chromebook integration is up and running, your chromebook information is integrated with SysAid asset management. Here's a few places where you can view your Chromebook data.
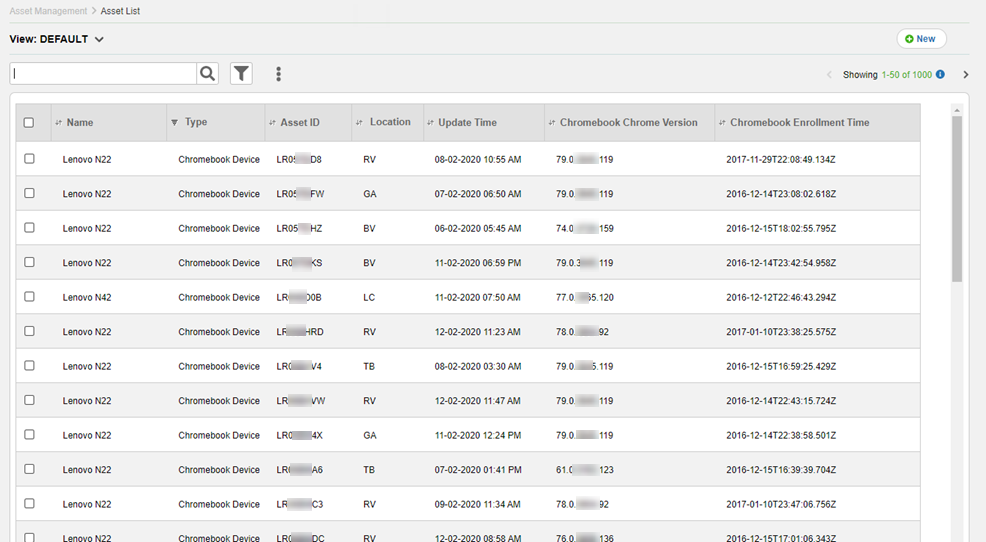
Asset list
The imported Chromebook devices are displayed in the asset list. In addition, the integration allows you to add chromebook-specific columns to the asset list view.
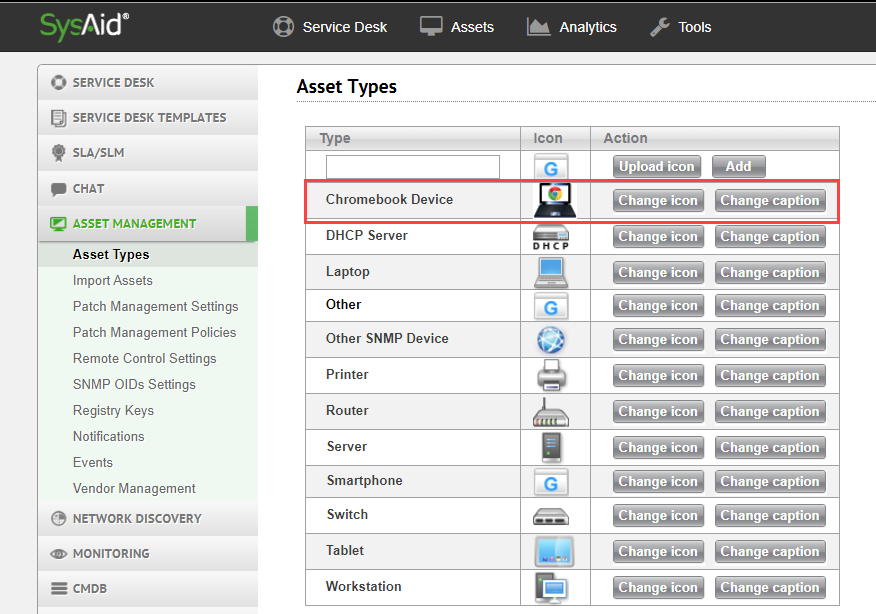
The integration also adds a "Chromebook Device" optionto the Asset Type list.
Asset form
For each Chromebook device, SysAid displays the data in a limited asset record that contains only the tabs that are relevant to Chromebooks.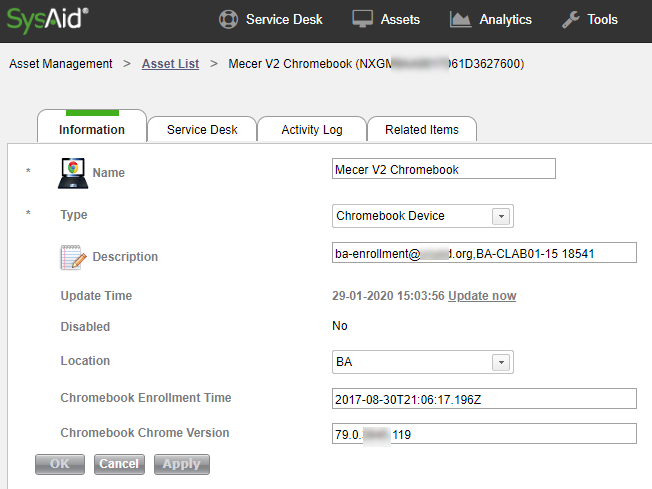
Last updated
You can check the last time an import was run, by checking the Last Updated field in the Chromebook configuration page.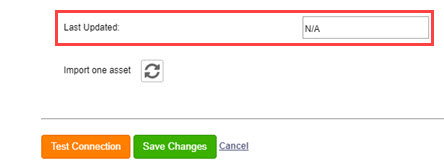
Fields imported
When you import data from Chromebooks, the integration pulls the values from the maps the values from G-Suite Chromebooks fields to SysAid asset management fields as follows:
| Chromebooks Field | SysAid Field |
|---|---|
| Model | Model |
| Serial number | Serial |
| ChromeVersion | Chromebook Chrome Version |
| EnrollmentTime | Chromebook Enrollment Time |
| Auto-update expiration | Warranty Expiration |
| Asset ID | Chromebook Asset ID |
| User | Description (The values of these two fields are concatenated together into SysAid's Description field) |
| Notes | |
| Location | Location |
| RecentUser(s) | Owner (The most recent of the recent users is automatically mapped to the Owner field in SysAid) |
| CPU Utilization | Chromebook CPU Usage |
| Memory usage | Chromebook Memory Usage |
| Disk space usage | Chromebook Diskspace Usage |
| Organizational Unit | Chromebook Organization Unit |
| Last policy sync | Chromebook Policy Last Update |
| Status | Chromebook Status |