Skype for Business
- 14 Jun 2022
- Print
- PDF
Skype for Business
- Updated on 14 Jun 2022
- Print
- PDF
Article summary
Did you find this summary helpful?
Thank you for your feedback
The Skype for Business integration allows admins to initiate Skype sessions with users directly from a service record.
Requirements
For the integration to work properly you must have a Skype for Business account and be running SysAid version 18.2.50 or higher.
Setup the Integration
Register SysAid App in Azure AD admin center
- Login to the Azure Active Directory admin center: https://aad.portal.azure.com.
- Navigate to Azure Active Directory > App registrations.
- Click New registration.
- In the Name field, enter "SysAid".
- (Optional) To allow users from other organizations in your Azure AD to access this integration In the Supported account Types area select the MMulti-tenanted option - 2nd option..
- Click Register.
- Hover over the Application (client)ID and then click

to copy it. Paste it in a location where you can retrieve it later. - Hover over the Directory (tenant) ID and then click
to copy it. Paste it in a location where you can retrieve it later.

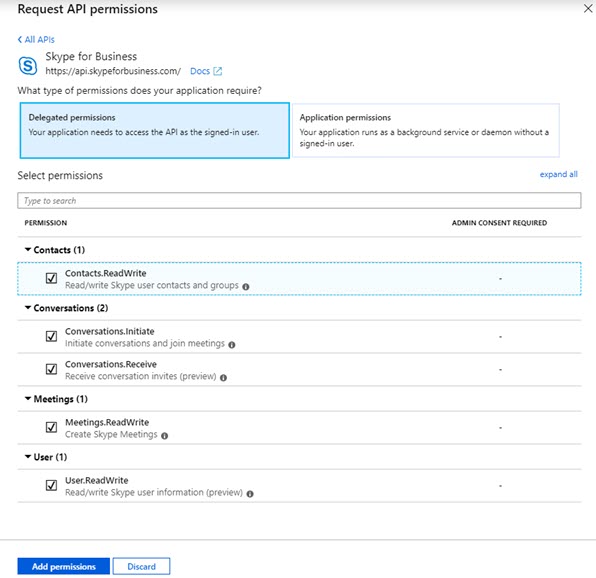
Define Permissions in Azure
Once the app is registered in azure, you need to request specific permissions to access a resource/API:
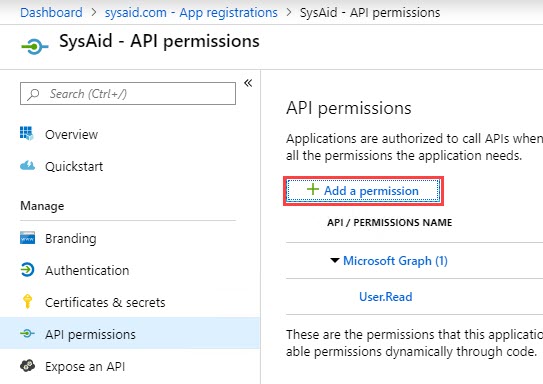
- Navigate to API permissions.
- Click Add a permission.
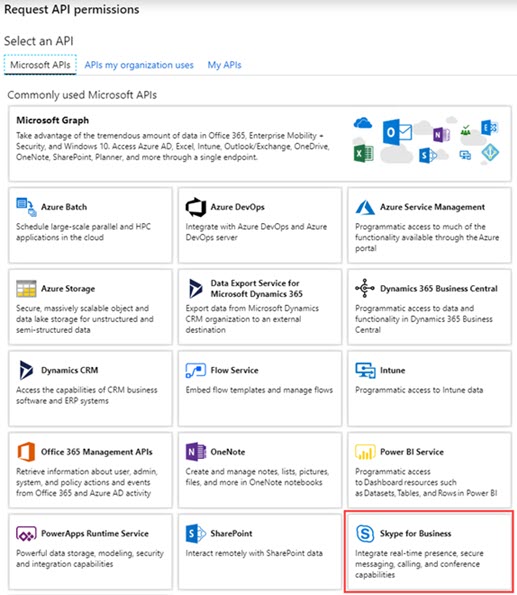
- Select Skype for Business.
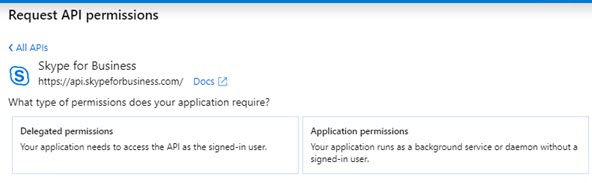
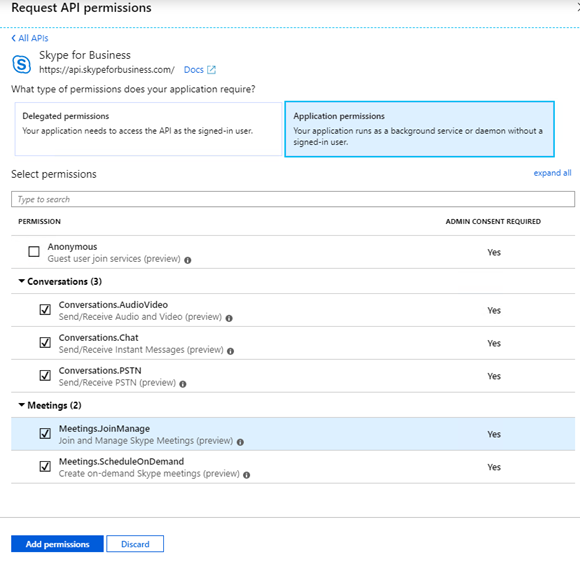
- Select Application permissions
- Enable all of the permissions. Click Add permissions.
- Click Delegated permissions and repeat the process.
- Click Grant admin consent for <Name of App>.
- When prompted, click Yes.


Edit the manifest
- Click Manifest.
- Set "oauth2AllowImplicitFlow" parameter to "true".
- Update "replyUrlsWithType" to the SysAid account URL as follows (The URL parameter should be in the following format: https://acme.sysaid.com/* ) :
- ActionScript
"replyUrlsWithType": [ { "url": "<SysAid Account URL>/*", "type": "Web" } ] - Click Save.
Configuring the integration in SysAid
- Obtain the Skype for Business add-on from the SysAid Marketplace.
- On the main My Apps page, in the Skype for Business icon, click
 .
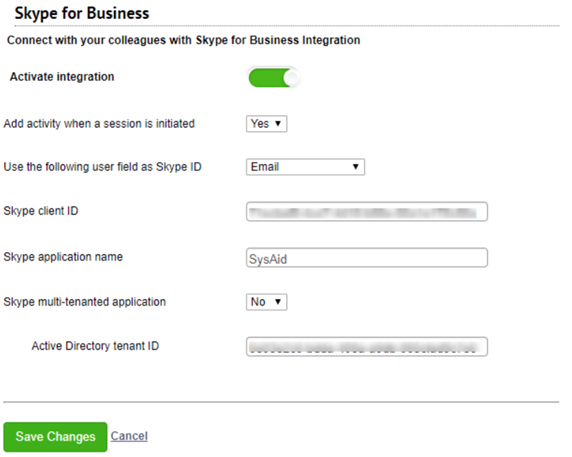
. - Click the Activate Integration slider to enable the Skype for Business integration.
- Select if you want SysAid to automatically generate an activity when a Skype session is initiated from within a service record.
- Select the user field that should be set as the user's Skype ID.
- Copy the application ID that you saved earlier and paste it in the Skype Client ID field.
- Ensure that the Skype application name is "SysAid".
- Select if the Skype integration is multi-tenanted.
- If the integration is single-tenanted, copy the application ID that you saved earlier and paste it into the Skype Client ID field.
- Click Save Changes.
 .
.
Using the Skype for Business integration
Once the integration is configured you can initiate Skype sessions from within an SR. The Skype icon in the Submit User and Request User fields indicates if the user is logged in to Skype. If you configured the integration to do so, it automatically generates an activity in the SR for every session you initiate.
To initiate a Skype session with a user, click the Skype icon in the user field.

Note
If this is the first time you are accessing Skype for Business via SysAid, you are prompted to enter your login credentials before proceeding to the session.
Skype for Business opens to a session with that user.

.png)