Sync your Google Workspace Users and Groups into SysAid, and map their user information Fields with corresponding SysAid Fields
Requirements
Google Workspace Administrator
SysAid
SysAid 24.2.20 and above
SysAdmin permission
Google User Repository Integration installed and activated in SysAid
SysAid SysAdmins and Admins with Google Workspace accounts use the Google User Repository Integration to import and sync their organization’s Users and Groups from Google Workspace – thereby having all the information you necessary to best deliver support via SysAid Service Desk.
This document provides the steps needed for SysAdmins to activate and configure the Google User Repository Integration, so that their organization can begin using it in SysAid, including how to:
Google Workspace API
To learn the steps required to enable the API in Google Workspace, read this guide
How synchronization works
The Google User Repository Integration sync every 24 hours.
This sync involves the following:
Importing all Users from Google User Repository to SysAid
Importing all Groups from Google User Repository to SysAid
Mapping Users with Groups
Disabling deleted Google users
Step 1
Get Google User Repository Integration
In SysAid, go to Connect and click Explore in the Marketplace banner.
Search for Google Apps User Repository and click on the card.
Click Setup and manage. You will be redirected to the My add-ons page, where you’ll see Google Apps User Repository.
Click the gear icon.
Step 2
Activate Integration
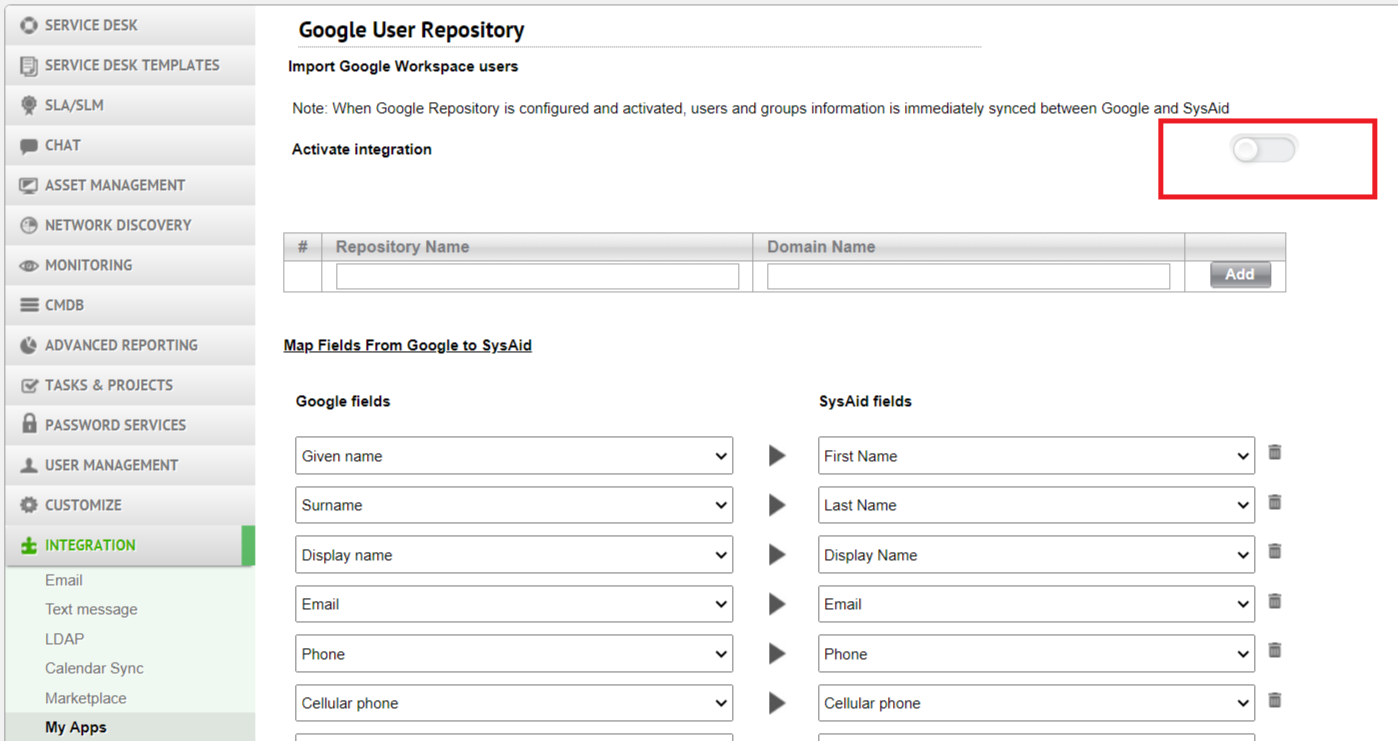
Turn on the Activate integration toggle.
This will enable the syncing process between your Google User Repository and SysAid.
Step 3
Add Google User Repository
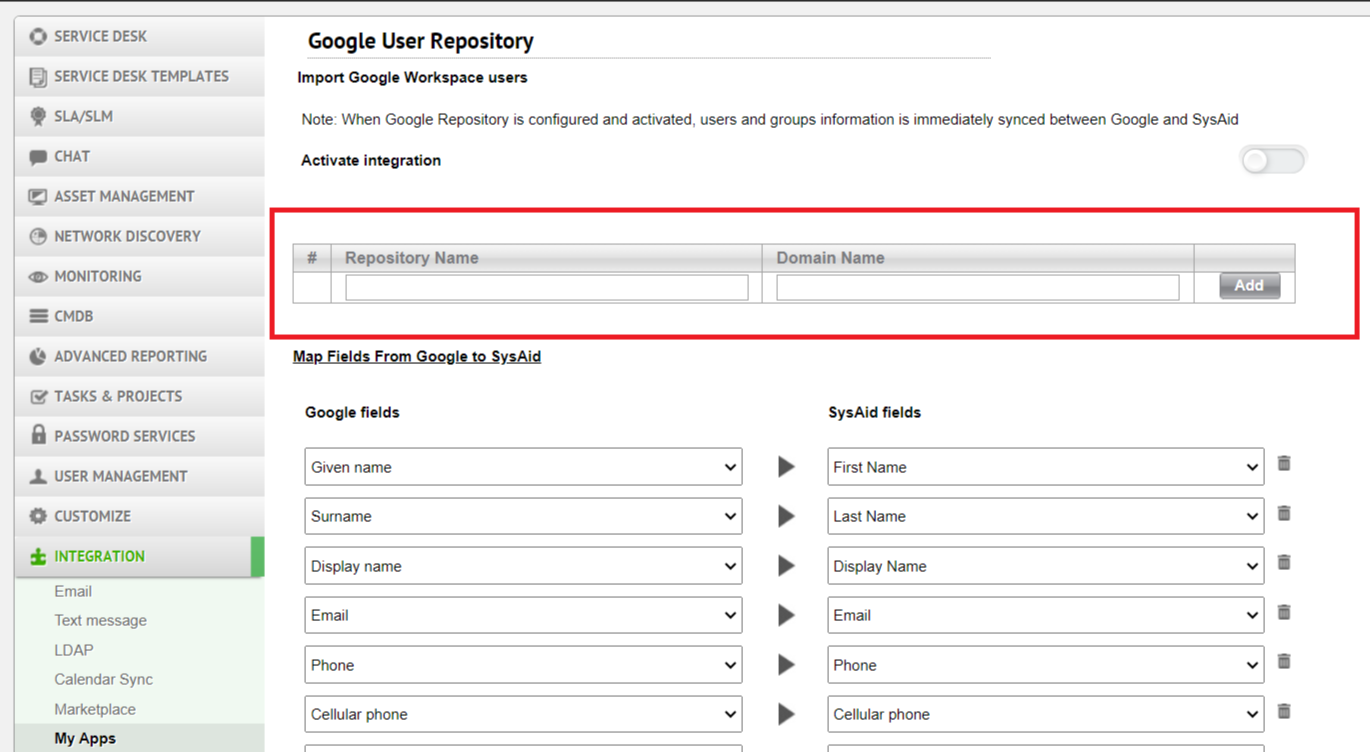
Configuring (and activating) your Google Repository will allow to sync your Users and Groups information between Google and SysAid.
Adding your Google Repository requires uploading your Google Repository credentials .JSON file.
To do this, enter:
Criteria | Required? | Example | |
|---|---|---|---|
Repository Name | None (name created by Admin) | Yes | Sysaid |
Domain Name | Domain corresponding to the Google domain that the user repository belongs to | Yes | sysaid.com |
Once you’ve added Repository Name and Domain Name, click Add to choose select your Google Credentials .JSON file.
Upload Google credentials .JSON file
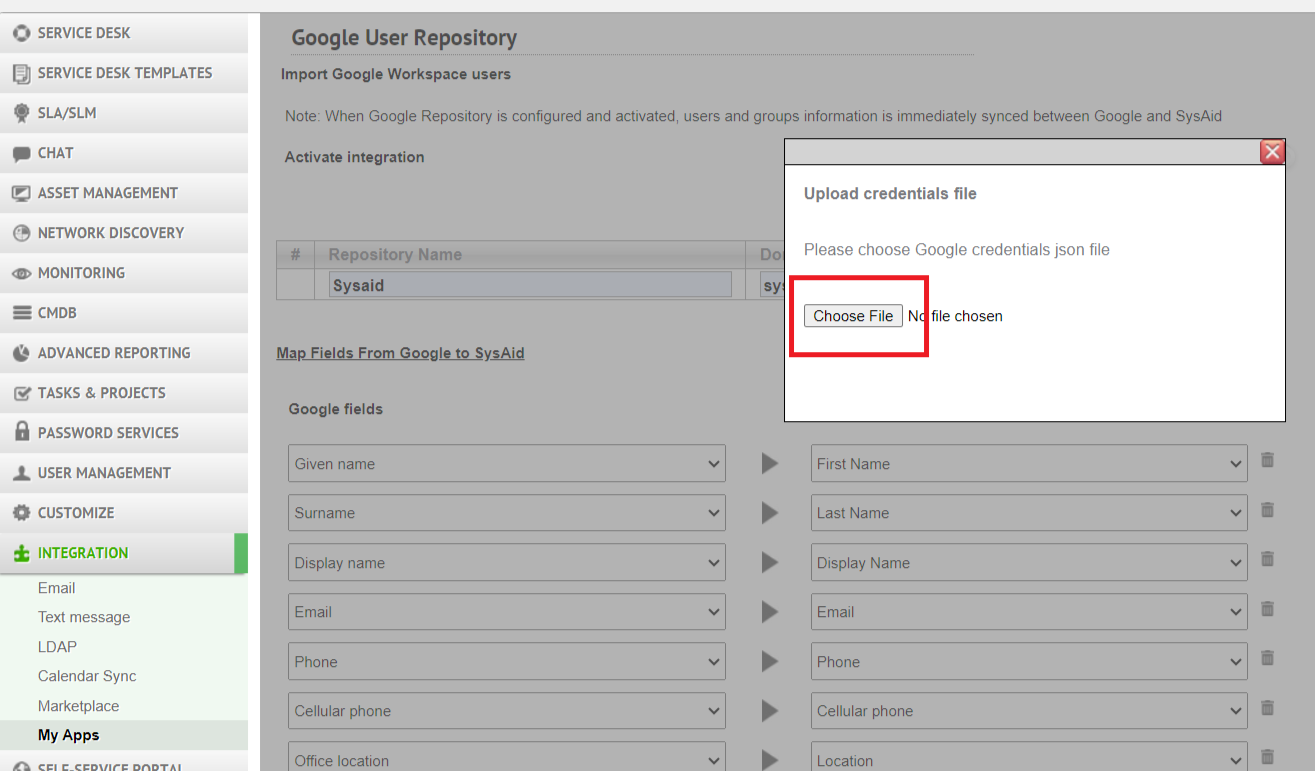
This popup form will appear after clicking Add.
Upload the JSON file from your File Manager.
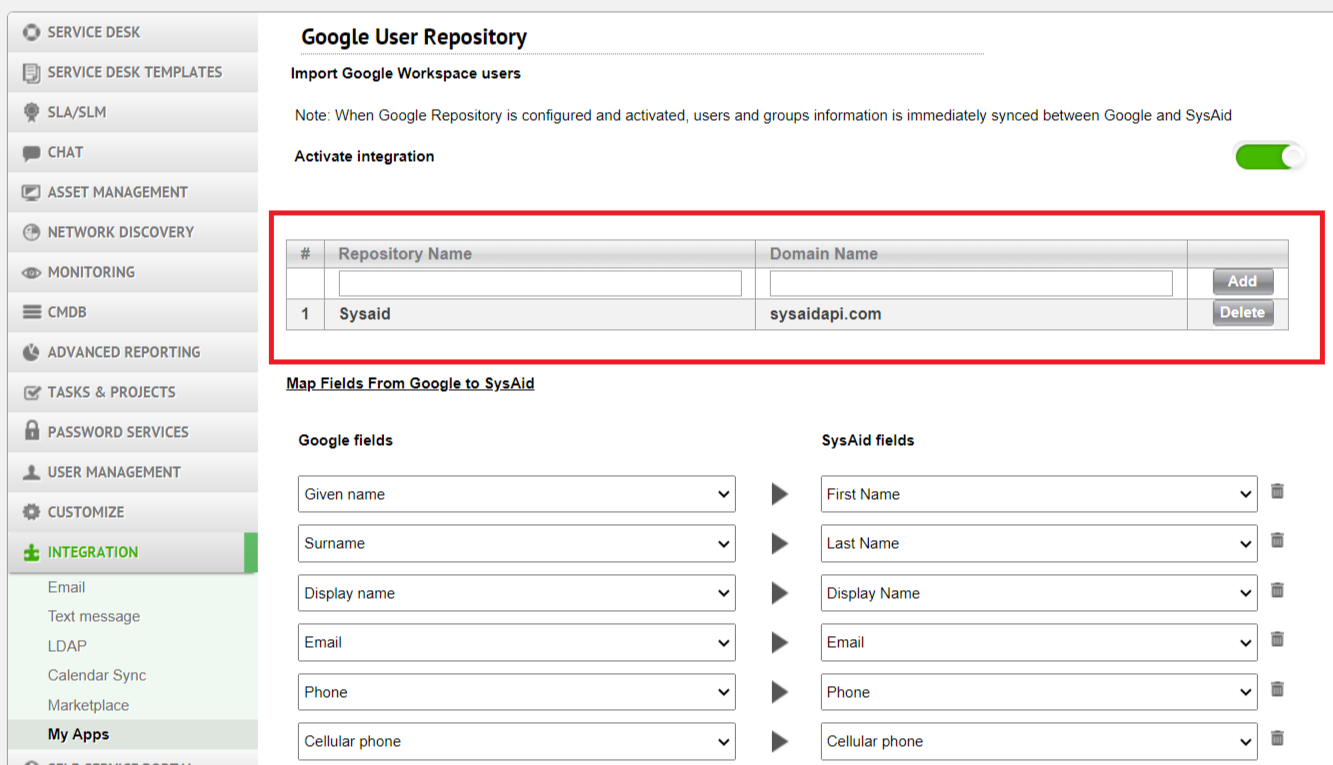
If the file (and credentials) are valid, it will appear in the Repository list, as shown below:
Step 4
Test Integration Connection
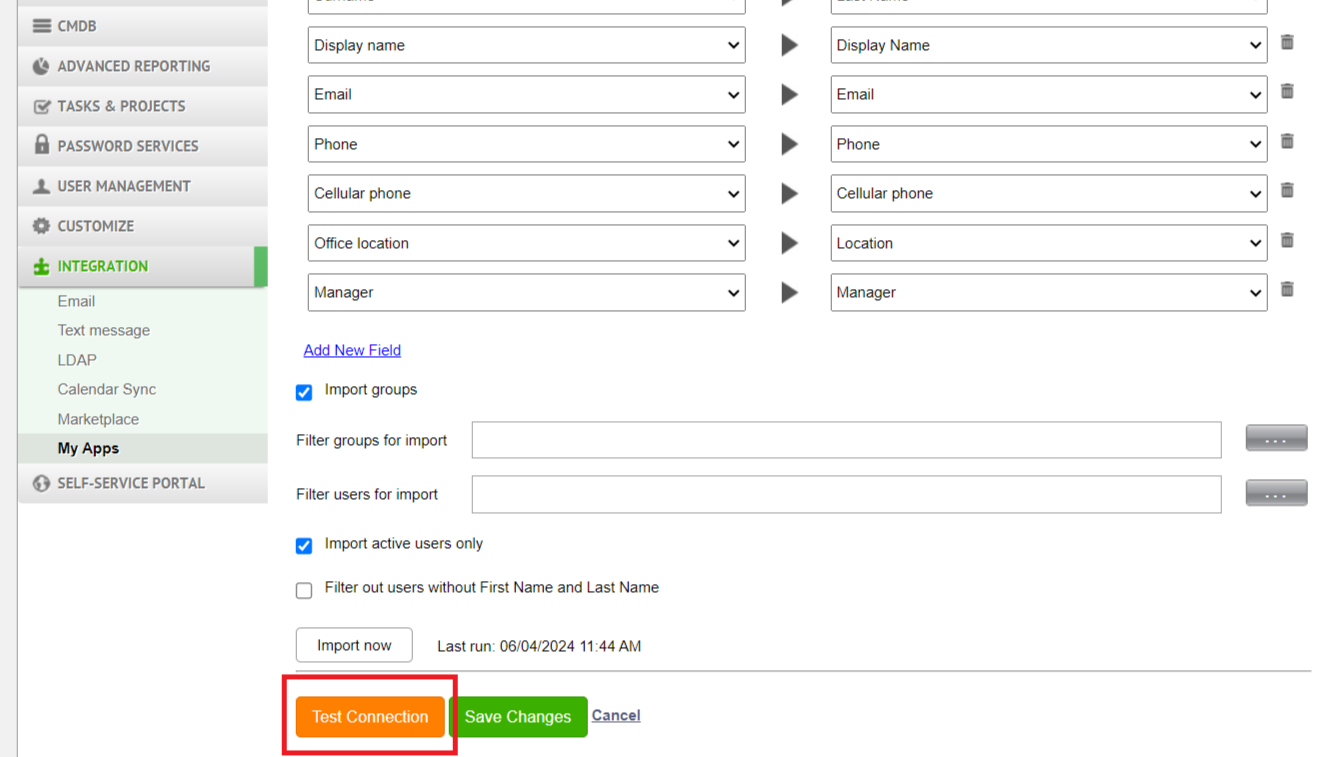
After successfully adding the repository, you can test the connection between Google User Repository and SysAid, by clicking Test Connection (shown above).
Once the connection is successful, you should see the following success message:
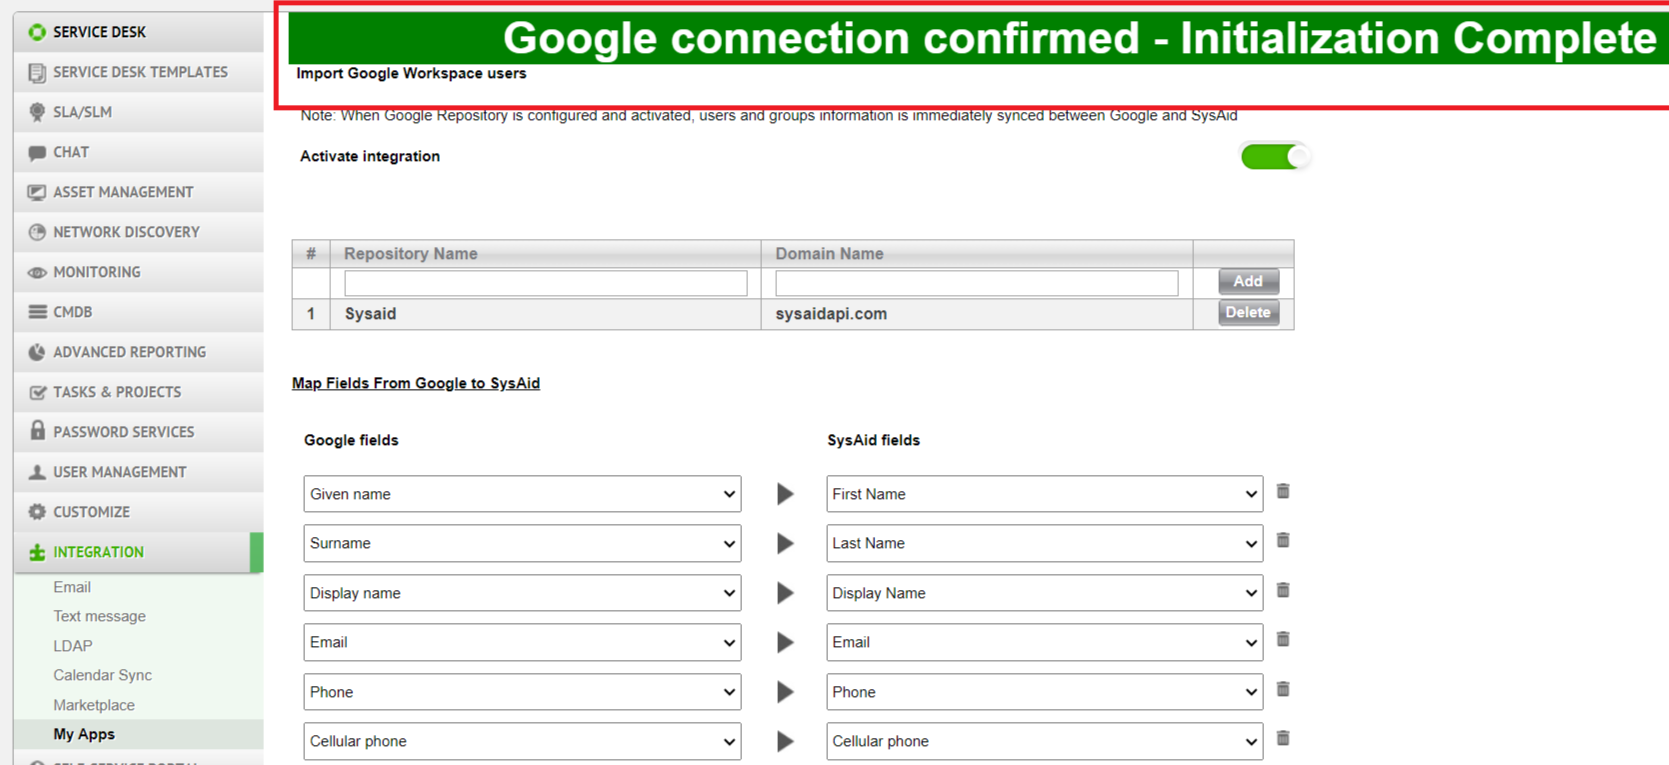
Step 5
Import User Fields
Map User Fields
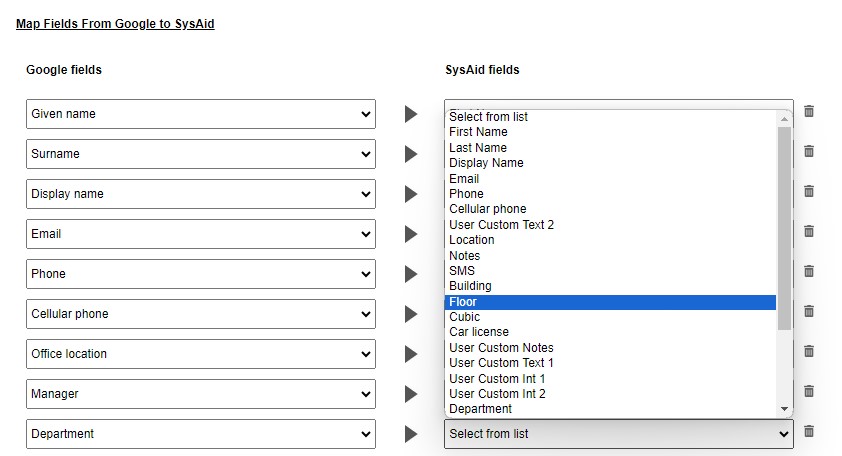
The Google User Repository import process provides the option to adjust which SysAid Fields correspond to the fields used in your Google Workspace account.
To choose or change which SysAid Field a Google field is mapped with, select the field you want to change from the relevant row.
Example
To map the field value of the Department field you’re importing from Google Workspace into your Floor field in SysAid, you can choose this in the corresponding dropdown field
Add Filters (optional)

You can modify which data is imported from your Google User Repository, using the following filters:
Filter | Filter Method | Impact |
|---|---|---|
Import Groups | Single select checkbox | Integration will include Groups |
Filter Group Import | Admin creates Advanced Filter (SysAid functionality) | Advanced Filters (with option for multiple AND/OR statements) determine which Fields to import from Groups |
Filter User Import | Admin creates Advanced Filter (SysAid functionality) | Advanced Filters (with option for multiple AND/OR statements) determine which Fields to import from Users |
Import Active Users only | Single select checkbox | Integration will include only Active Users |
Filter out users without First Name and Last Name | Single select checkbox | User records without First Name and Last Name Fields won’t be included in Import |
Once you’ve added any desired filters, click Save Changes.
You can then click Import now.
Confirmation of Import
After reloading the page, the import is considered complete once the Import button is active and the Last run field displays time of the last run.
Where to see imported Users
After finishing the import, imported Users and Groups can can be found in Admin Portal > Tools > User Management > End Users/Groups.