LDAP Form - General Tab
- 09 Jul 2025
- Print
- PDF
LDAP Form - General Tab
- Updated on 09 Jul 2025
- Print
- PDF
Article summary
Did you find this summary helpful?
Thank you for your feedback!
This page describes the fields and options displayed in the General tab in the LDAP Integration form.
To access information about other tabs, select one of the following links:
There are two ways to configure your LDAP settings:
Using the LDAP configuration wizard (Active Directory only)
By inputting your individual LDAP settings manually
LDAP Configuration wizard
Click LDAP Configuration Wizard to open the LDAP configuration wizard and then fill out the following fields:
Please note:
Running the LDAP configuration wizard overwrites the existing LDAP Integration settings and reverts them to the default settings.
RDS name
This is the RDS that you use to communicate with the LDAP server. This can be the SysAid server.
Server type
This should be left as Active Directory unless you're using an old Exchange 5.5 server for LDAP.
LDAP host name
This is the name of the computer that's hosting your LDAP.
LDAP port number
If you are using an unsecured connection, this is typically 389. If you are using an SSL connection, this is typically 636. Unless you've changed the ports for your LDAP, you shouldn't need to change this.
Credentials
Select the credentials set you want to use to access LDAP integration.
Domain
This is the domain you import from LDAP. For non-simple Authentication Type, please enter the full domain.
Domain display name
This is the domain name you want to display in the LDAP Integration list and any domain drop-down.
Authentication Type
Leave this as Simple unless you specifically know that you need to use another authentication type.
LDAP over SSL
Check this to use SSL for the connection between your SysAid server and your LDAP. Note that changing this automatically updates the port number.
Important!
If you plan on using the Password Services module, you must a) enable an SSL connection to your LDAP and b) use an LDAP user with permission to manage domain passwords in your LDAP.
Allow password caching to accelerate authentication
If this is checked, SysAid stores the LDAP user passwords in the SysAid database (encrypted) to accelerate authentication.
Using the LDAP configuration wizard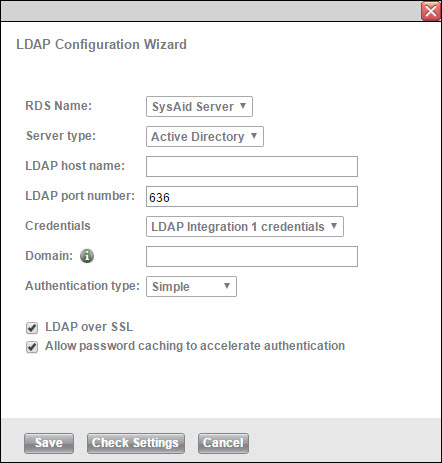
Click Check Settings to verify that you've correctly entered your LDAP settings. If the LDAP connection is successful, a confirmation is displayed at the bottom of the Wizard screen. If you are unsuccessful, please recheck your LDAP host name, user name, password, and domain, and then try again.
Click Save when you are done. Your LDAP structure should be automatically imported into SysAid, and you may then fine-tune your LDAP settings as you like. Below is an explanation of the various fields available for integrating with your LDAP. When you are done, see the section Completing LDAP Integration, below.
LDAP configuration settings
RDS Name
This is the RDS that you use to communicate with the LDAP server. This can be the SysAid server.
Please note:
Depending on certain Active Directory policy settings, old passwords can still be used to log in to SysAid after a password change has occurred. By default, both the old and the new passwords continue to work for approximately one hour after the password change. After one hour, the old password stops working. Please refer to Microsoft® KB article 906305 for information on what occurs and for instructions on disabling the behavior if necessary. http://support.microsoft.com/?id=906305
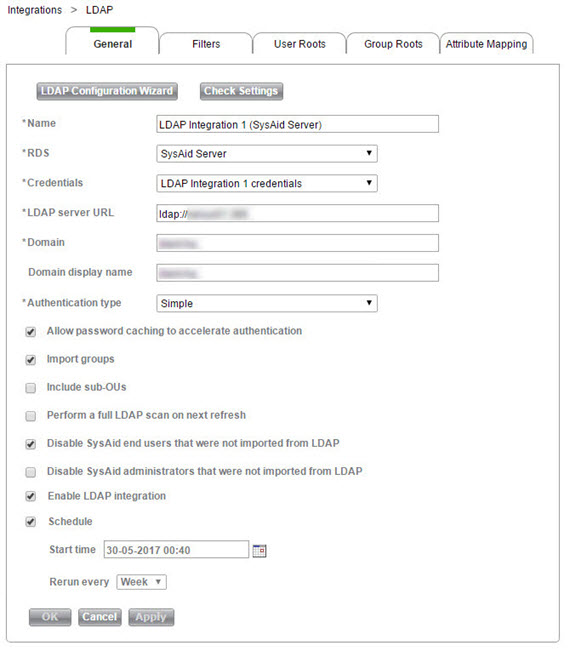
LDAP server URL
Points SysAid to the LDAP server using standard LDAP URL. For example, ldap://10.0.0.10:389.
You can configure your LDAP integration to use a secure connection by updating the URL to contain the parameter "ldaps" in the beginning and changing the port to "636" so the URL reads like this: ldaps://10.0.0.10:636
Make sure to configure your LDAP server configured to use a secure connection
Important!
If you plan on using the Password Services module, you must a) enable an SSL connection to your LDAP and b) use an LDAP user with permission to manage domain passwords in your LDAP.
Credentials
Select the credentials set you want to use to access LDAP integration.
Domain
This applies primarily for Active Directory. In most other cases, you do not need to specify the domain, so enter "none".
Authentication Type
Choose your desired authentication type from the list. If you are not sure what type to choose, select Simple.
Allow password caching to accelerate authentication
If this is checked, SysAid stores the LDAP user passwords in the SysAid database (encrypted) to accelerate authentication.
Import groups
Check this box if you would like to import groups from LDAP.
Include sub-OUs
If this is checked, SysAid imports users and groups from nested OUs when integrating with LDAP.
Perform full scan of the active directory
When LDAP integration pulls data from the active directory into SysAid it generally only pulls in data from users that have been modified since the previous LDAP sync.
To perform a full scan of the active directory the next time the data is synced and pull in all of the user data, whether it has been modified or not, select this check box.
After the full sync is complete, SysAid automatically clears the check box again.
Disable SysAid users who were not imported from LDAP
This is checked by default. However, there might be cases where you do not import all LDAP users every time you refresh from LDAP. In these cases, make sure to uncheck this option to avoid disabling users who might still be active.
Whenever a user is disabled an entry is added to the Event log.
Example : You have 50,000 users in your LDAP, and a full import takes several hours. Therefore, after the initial import, you update your SysAid LDAP settings to only import users that have changed since the last import. In a case like this, you would not want to disable users not imported from LDAP, otherwise most of your users would be disabled in SysAid each time you refresh from LDAP.
Disable SysAid admins who were not imported from LDAP
This is unchecked by default. If you want to automatically disable admins who are no longer available in the LDAP, select this check box.
Whenever an admin is disabled an entry is added to the Event log.
Revoke SysAid group memberships for users not present in connected LDAP groups
If you want to automatically remove users from groups if they have been removed from those groups in the active directory, select this check box.
Delete SysAid groups which were synced from LDAP, if they no longer exist in LDAP
If you want to automatically delete LDAP-synced groups from SysAid when they have been removed from the active directory, select this check box.
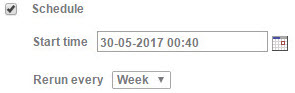
Schedule
You may schedule an LDAP refresh to automatically import changes in LDAP into SysAid (e.g. new users). Enter a start time, and choose how often the refresh will repeat. The refresh runs at the time of day listed in the start time, so make sure you choose a time where all applicable servers are available and where there is minimum traffic to your SysAid server.
Schedules apply to each individual LDAP integration.
Complete LDAP integration
Select Enable LDAP integration and click Save.
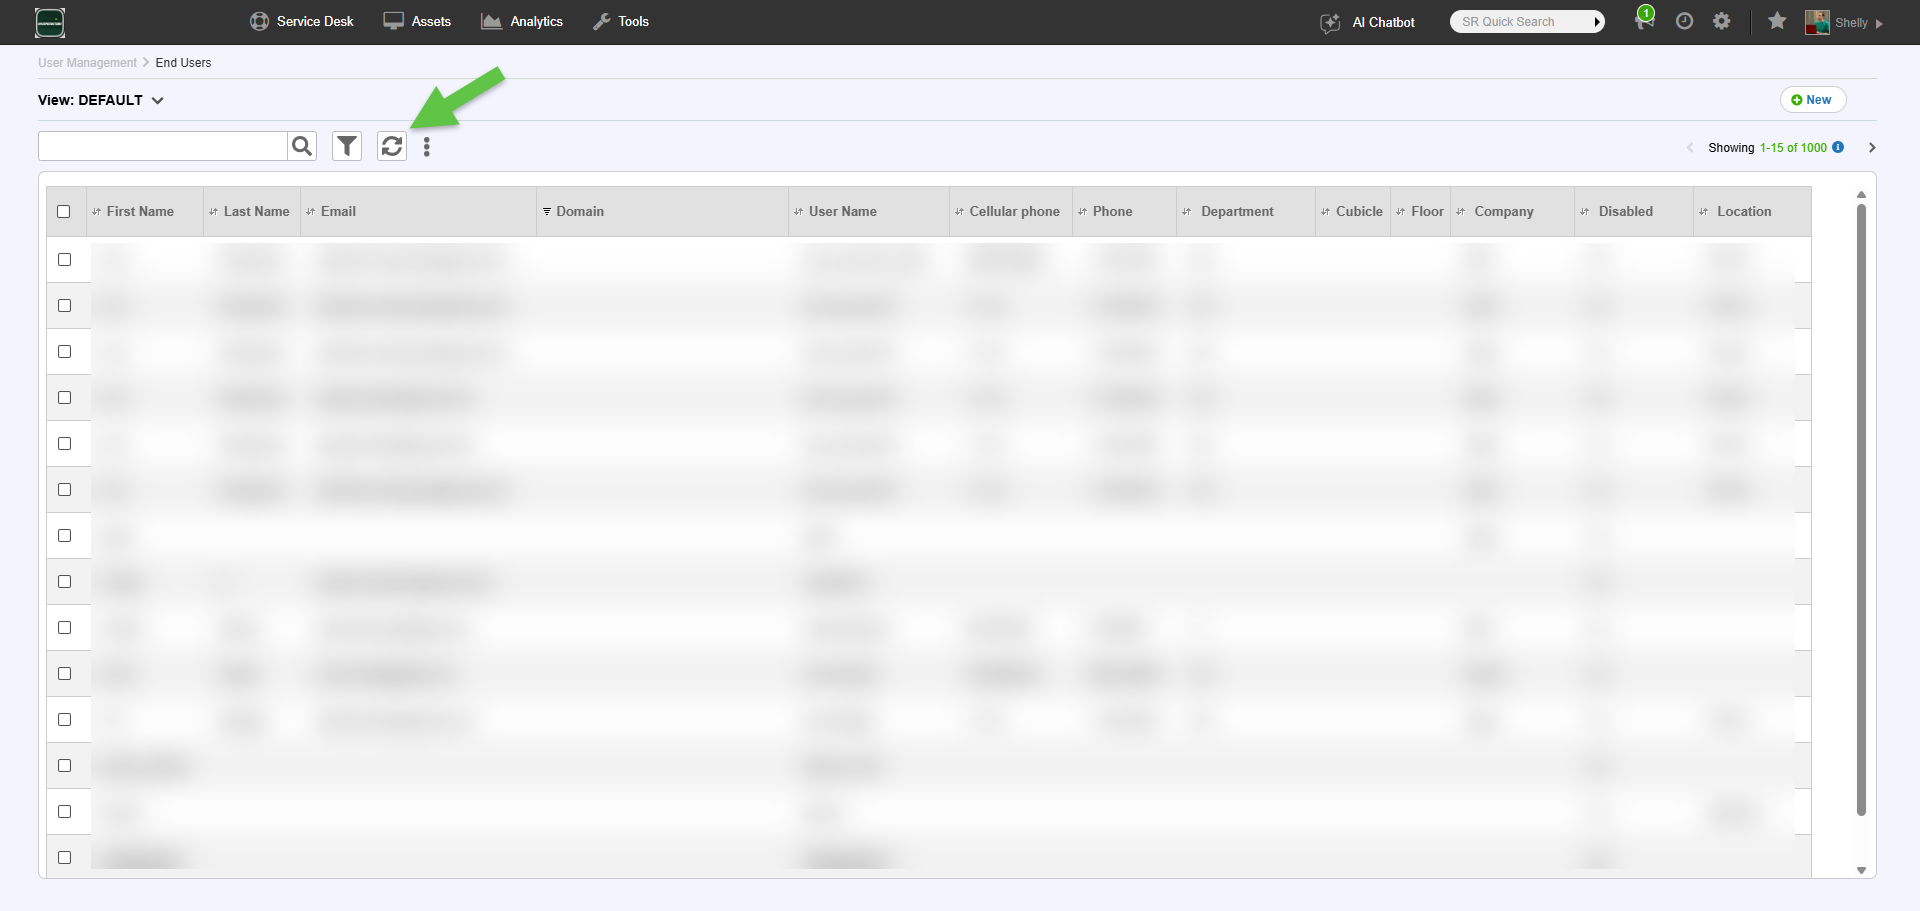
After completing the LDAP integration settings, go to:
In SysAid Classic: Tools > User Management > End Users
In SysAid Spaces: Settings > User Management > End Users
And click the circular arrows sign (Refresh from LDAP). Once the LDAP import is completed, refresh the list to verify that the users were successfully imported.
.png)