Prerequisites for an SNMP Scan
Before scanning for SNMP devices, be sure that the following conditions are in place:
Devices for discovery are enabled for SNMP version 1, 2, or 3.
Devices enabled for SNMP v3 have a set password
Device Community String match the scan’s defined String
Devices limited to SNMP access per IP address or Host Name enable access to the RDS or the SysAid server
At least one device network adapters contain a valid MAC address on the following OID: 1.3.6.1.2.1.2.2.1.6.X.
This article provides the required steps for running an SNMP Scan in SysAid.
Step 1
Open SNMP Scan List

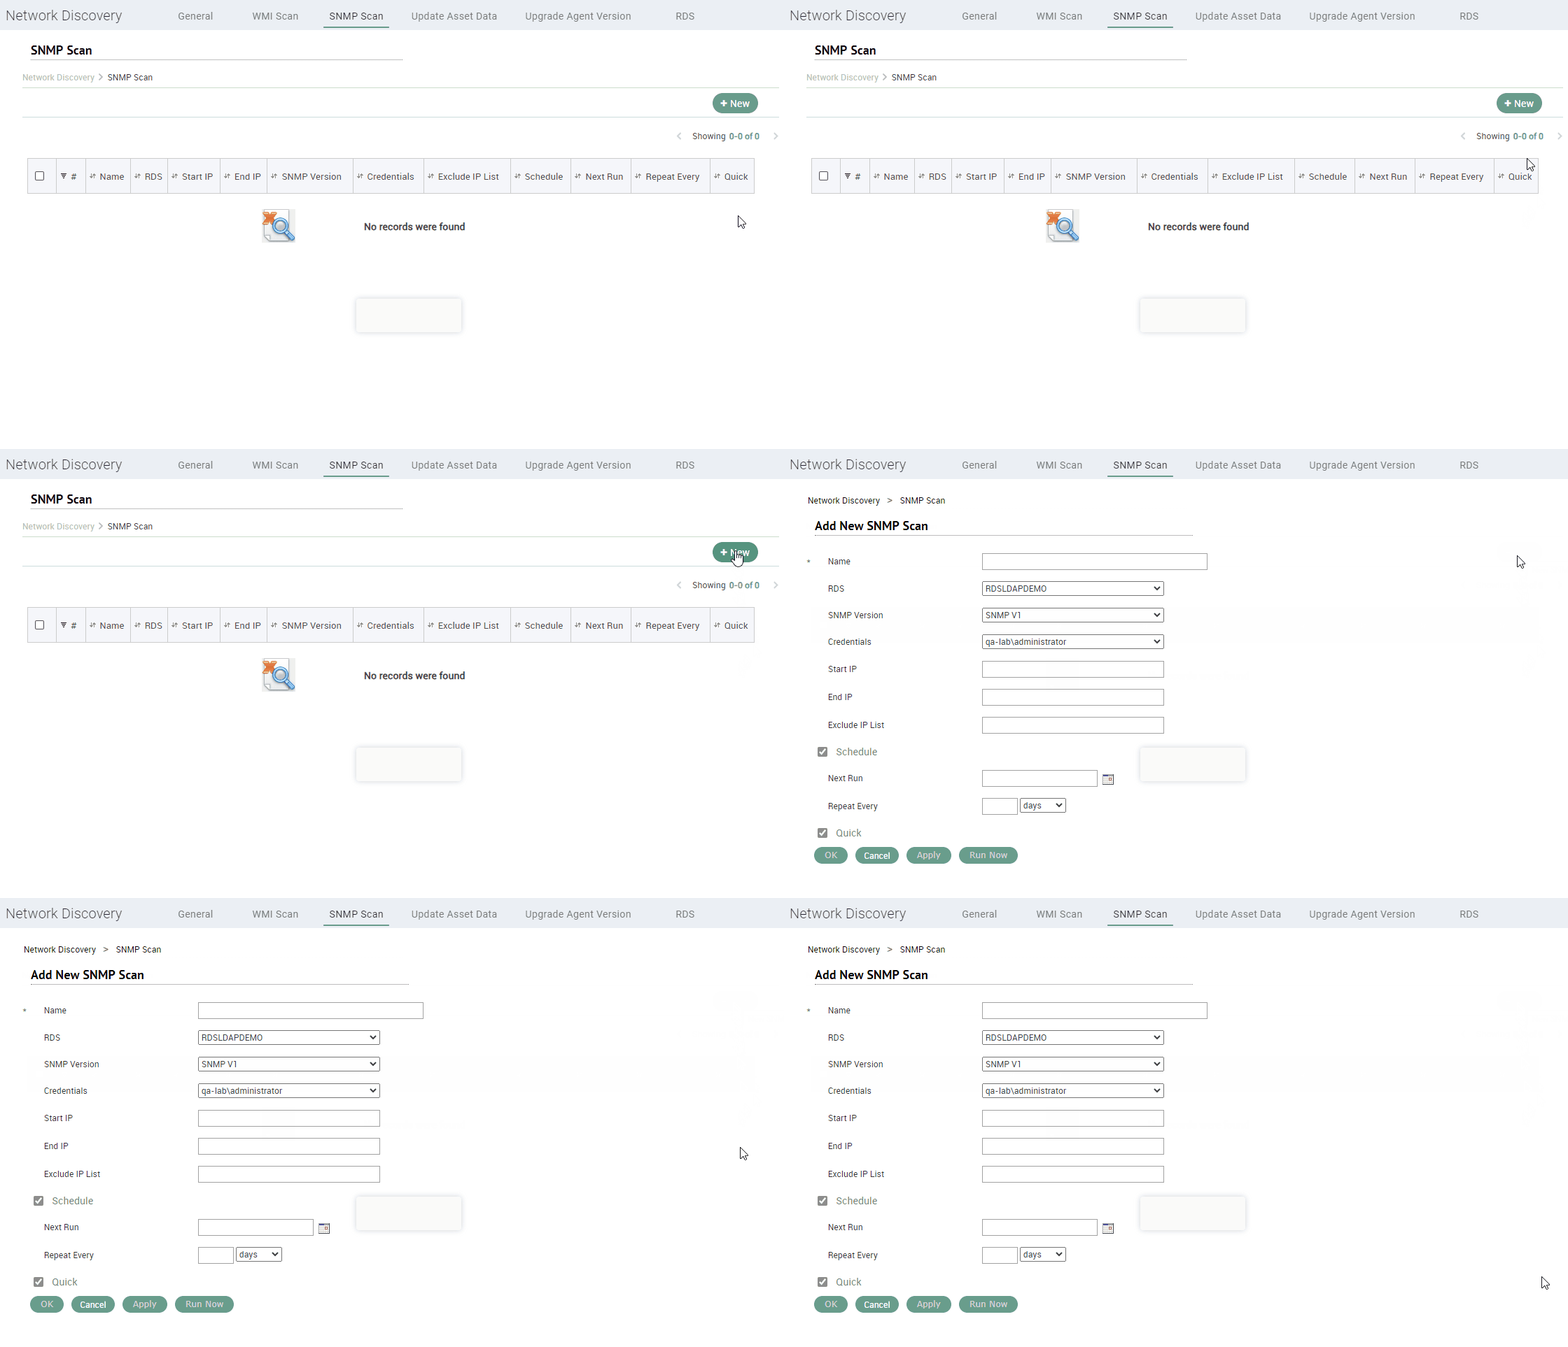
The SNMP Scan List displays all of your saved SNMP Scans.
To open the list, do the following:
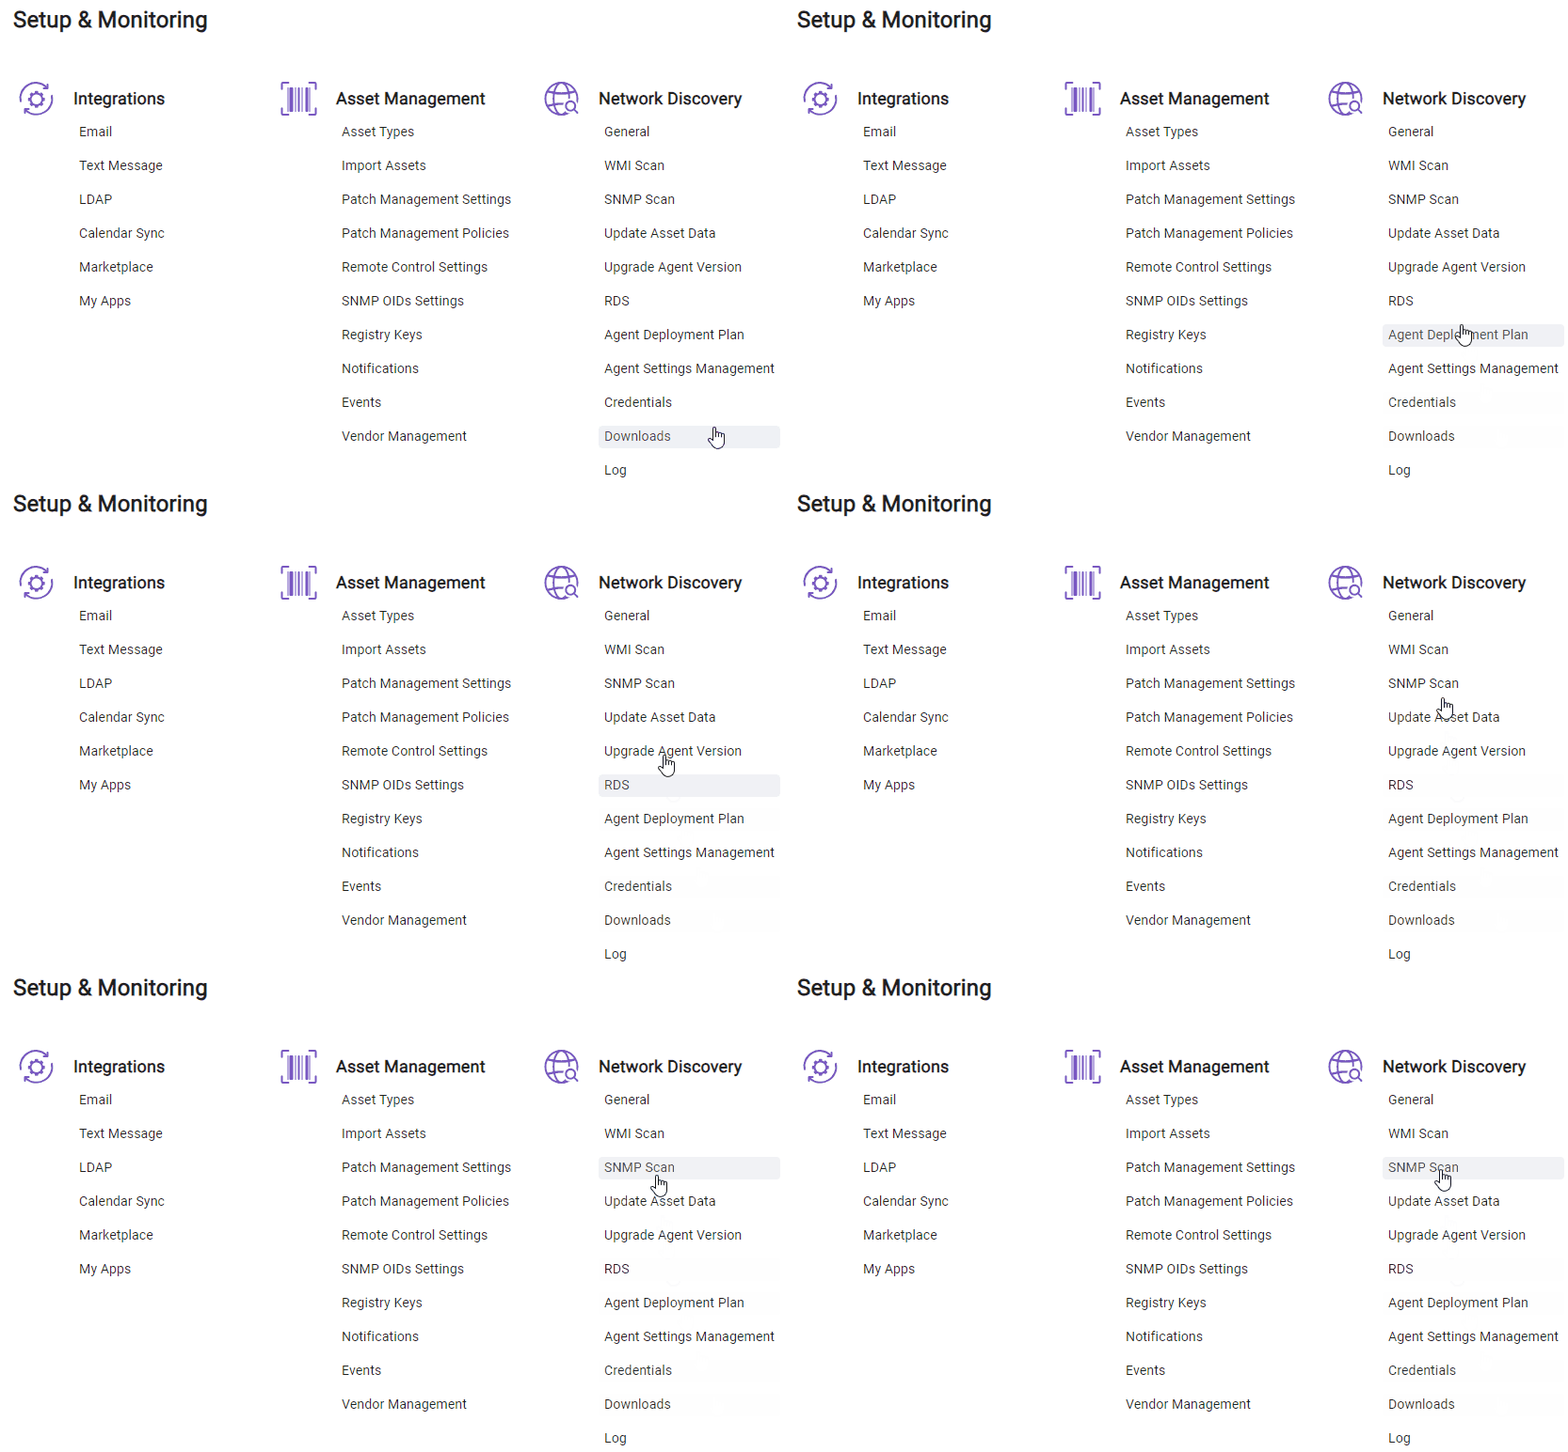
Go to Service Desk Settings
Go to Network Discovery > SNMP Scan
Step 2
Create SNMP Scan

Once you’ve opened the SNMP Scan List, click New.
This will open the SNMP Scan Form.
Step 3
Fill in SNMP Scan Form
This is where you populate the SNMP Scan form with the required information, which correspond to the SNMP List Columns.
Field | Description |
|---|---|
Name | The name you select for this SNMP scan. |
RDS | Select the RDS you want this scan to use to scan for the assets. |
SNMP Version | Select the version of SNMP you want to use when scanning your network. If a device does not support the selected SNMP version, it may not be discovered during the scan. |
Credentials | Select the credentials to apply to the RDS you select for this SNMP scan. To view all of the existing sets of credentials or create a new set of credentials, see the Credentials list. |
Start IP | Enter the starting IP address for the IP range you want to scan. |
End IP | Enter the ending IP address. |
Exclude IP List | Enter IPs you want to exclude from thedefined IP range. Use commas to separate multiple entries. |
Schedule | Select the check box if you'd like this scan to run on a defined schedule. |
Next Run | If you selected the Schedule check box, select the first date to automatically run the scan. |
Repeat Every | Select the interval on which the scan runs. |
Quick | Select the check box for a quick scan. When selected for this scan, SysAid runs the scan on the online computers within the defined IP range only. A quick scan is faster, but may miss any computers that come online after the list of online computers is prepared. |
When you complete the form, select Apply or OK.
To manually run this scan, click Run Now.
How to obtain Network Discovery Credentials
Network Administrators or Admins with the necessary access and permissions to configure and manage Network Devices can obtain Credentials by performing these steps:
Identify Required Credentials (e.g. SNMP community strings, usernames, and passwords)
Log into the Network Devices (e.g., routers, switches, printers) to configure or retrieve the necessary SNMP credentials
Add them to the relevant SNMP Form Fields
Edit SNMP Scan
To edit an SNMP Scan (click on the SNMP Scan record in the SNMP Scan List), follow these steps:
Update the desired parameters
Click Apply
Click OK
Delete SNMP Scan
To delete an SNMP Scan, click its record’s checkbox(es) and click Delete.